A complex smart heating system, simply built.

Winter is coming, so it's a good time to take care of the heating in our homes. In this post, I will show how I built a complex heating system for my home using Home Assistant. I also have a secret agenda 🙈 It's to share my thought process when approaching an automation problem that looks complex.
In this blog post, you will learn that you can build complex automations by combining two things:
- Planning upfront what you want to achieve
- Breaking down the automation into smaller, simpler parts
The outcome
Let's start by the end. Let me "sell" you what I created so that you want to continue reading 💪🏻. ️
My heating system is granular per room, each room has a standalone heating mode that can be:
PresentAbsentVent
Each mode (of each room) has a different target temperature based on the official French energy savings recommendations.
The heating mode is automatically set based on a few factors:
- Presence in the room
- Ventilation of the room (It's a fancy term to say "Windows open")
If I am working in my office, only my office will be set to Present, and every other room will be set to Absent. Rooms with the windows open will be set to Vent.
Basically, the heat follows me. I heat only what's necessary.
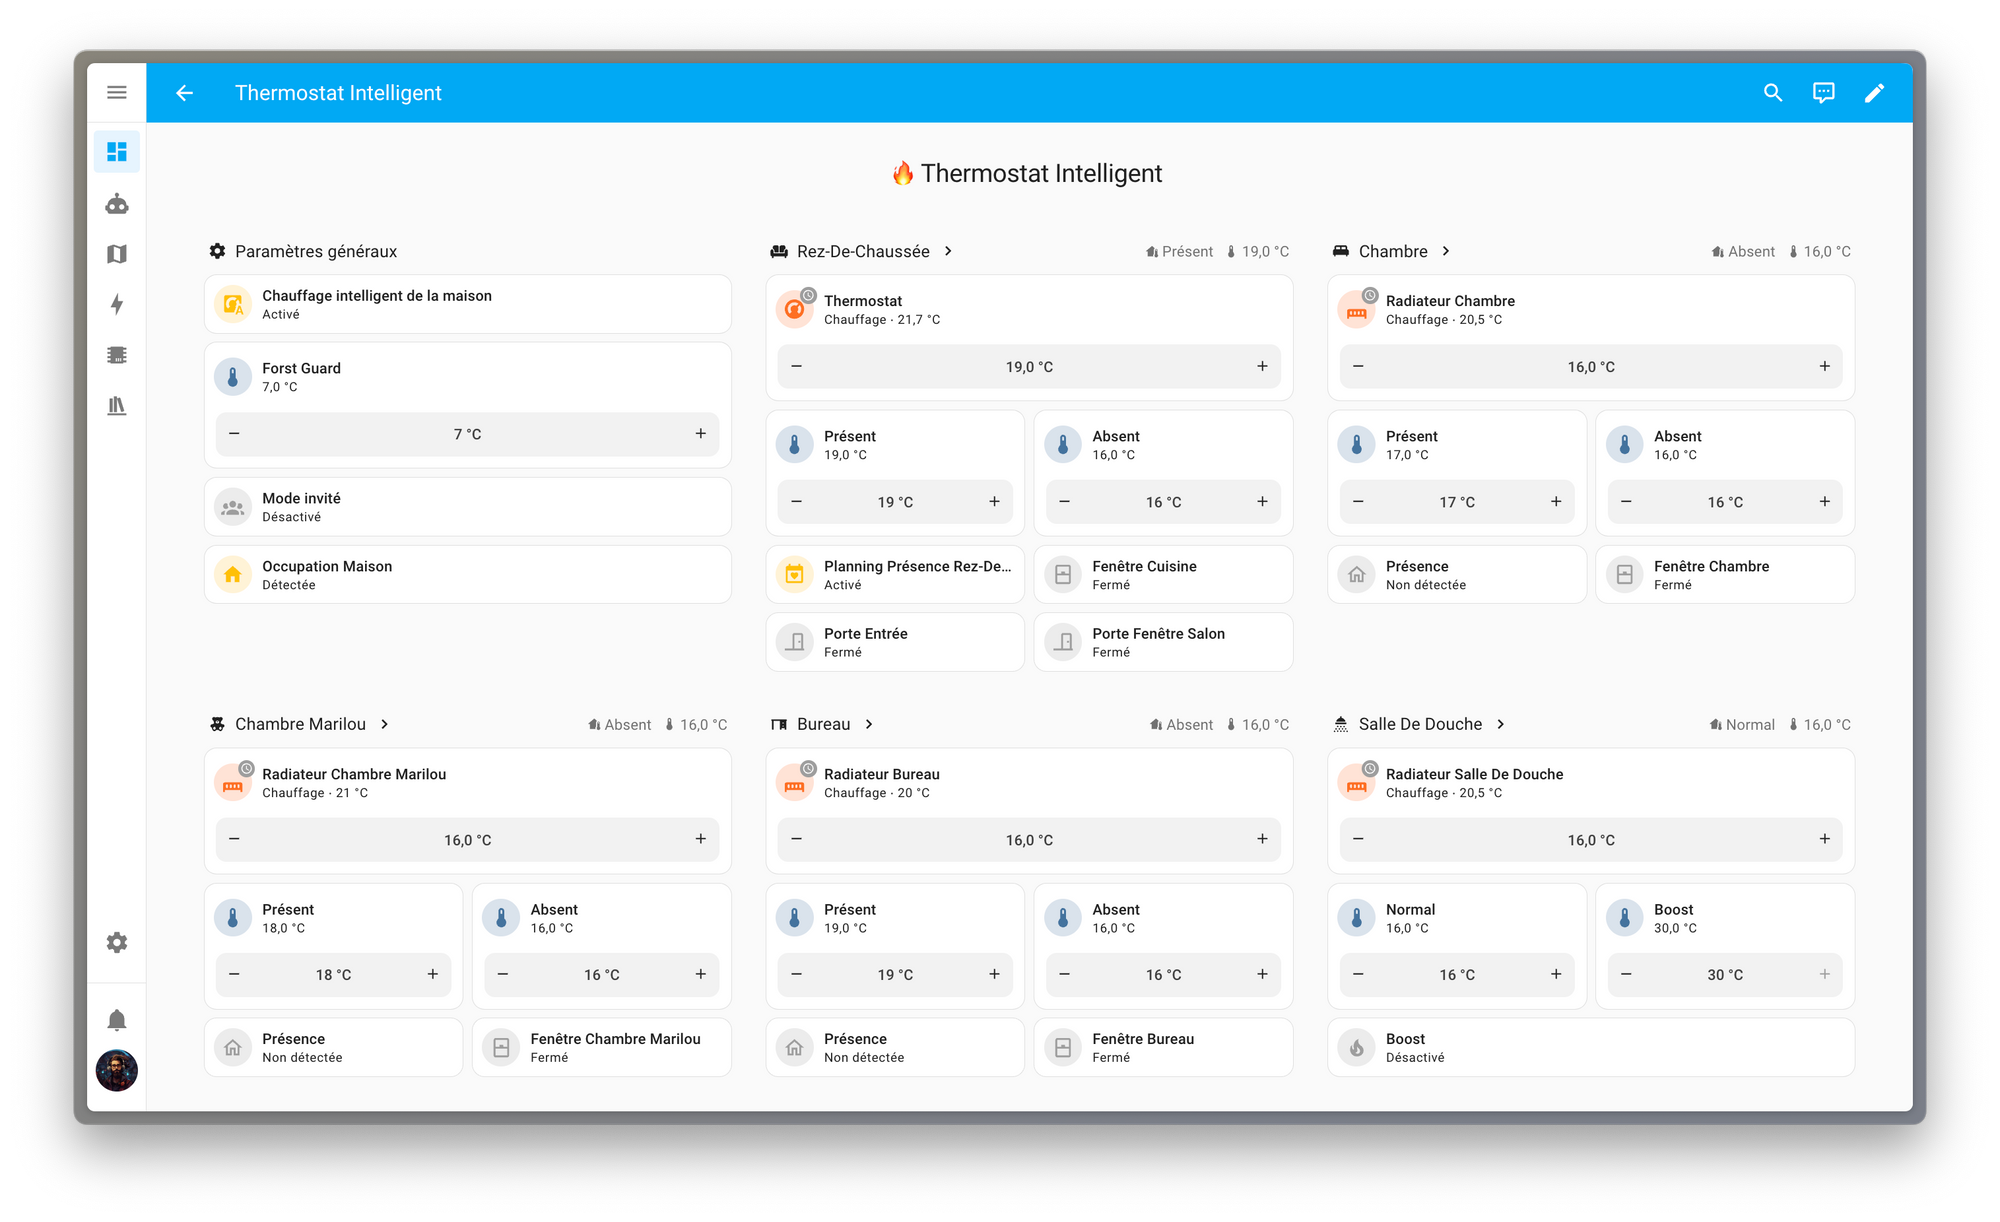
I can also override anything manually, without going to Home Assistant. I just walk to a radiator, turn the valve and the room goes into override for a specific amount of time (In my system: One hour).
Helpful, but never in my way.
If one day I am sick and cold while going to bed, I don't want to fight with my house to get heat.
I also have other specificities for specific rooms, such as a Boost mode in my bathroom that automatically triggers when I take a shower based on humidity. I won't go into all the little detail in this post, simply because I won't need to. We're going to focus on a single room, but the same thought process was used in every room. Sometimes inputs slightly vary from room to room, but the principle stays the same.
Hardware
Let's not get fixated too much on hardware, I think what I created could work with almost any hardware available. I do not own fancy stuff.
Heating
I have a gas boiler. It's connected to a smart thermostat. Mine is a Netatmo.
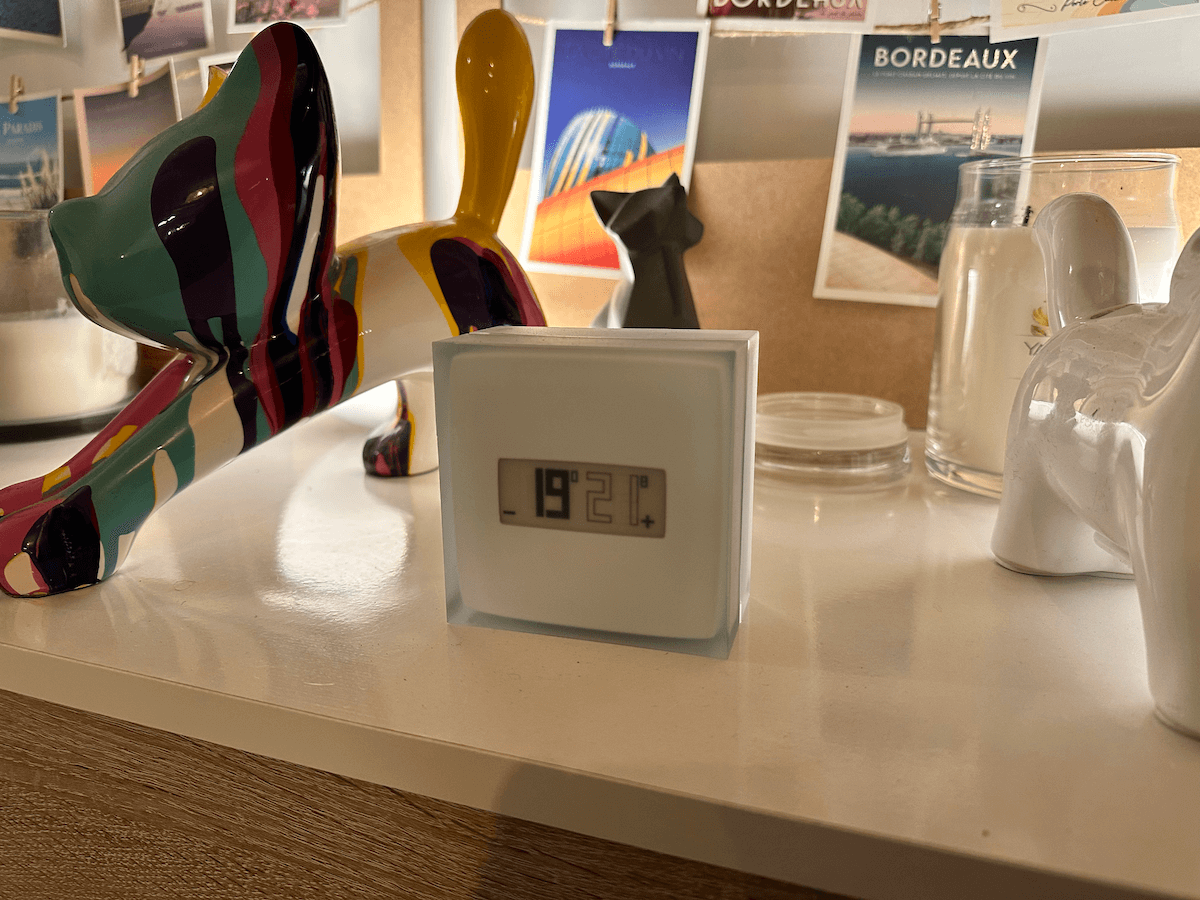
Each radiator has a thermostatic valve, I stayed on the same Netatmo ecosystem
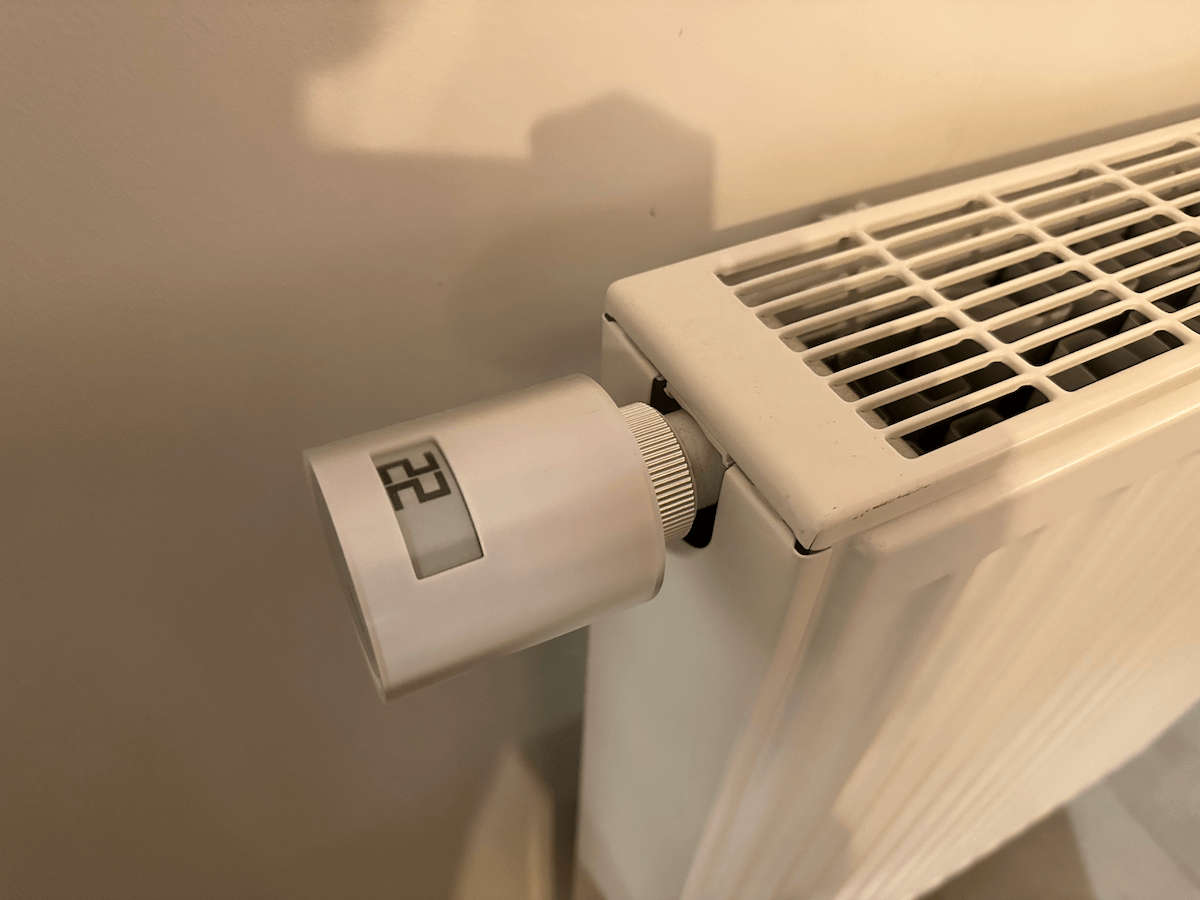
They all work the same way. The thermostat controls when the gas boiler heats or not. The thermostatic valves open or close based on the room temperature.
By default, these systems are usually set in a mode called Eco (Or similar). In this mode, only the thermostat can request heat from the boiler. So if the room where the thermostat is located is "warm" (It's usually in the main living space) and you set the thermostatic valve of a secondary room (like a bedroom) to a temperature higher than the current temperature, nothing will happen. The valve may open but the thermostat won't request heat, so the room won't heat up. The reasoning behind this is cost saving, as it is difficult to request heat in a granular way out of the box (but we are going to do it 😉).
There is usually another mode, called Comfort (Or similar) that allows individual valves to request heat. You can heat a secondary room independently of the temperature of the room hosting the thermostat. This is the mode my system is in.
climate entity. The thermostat too.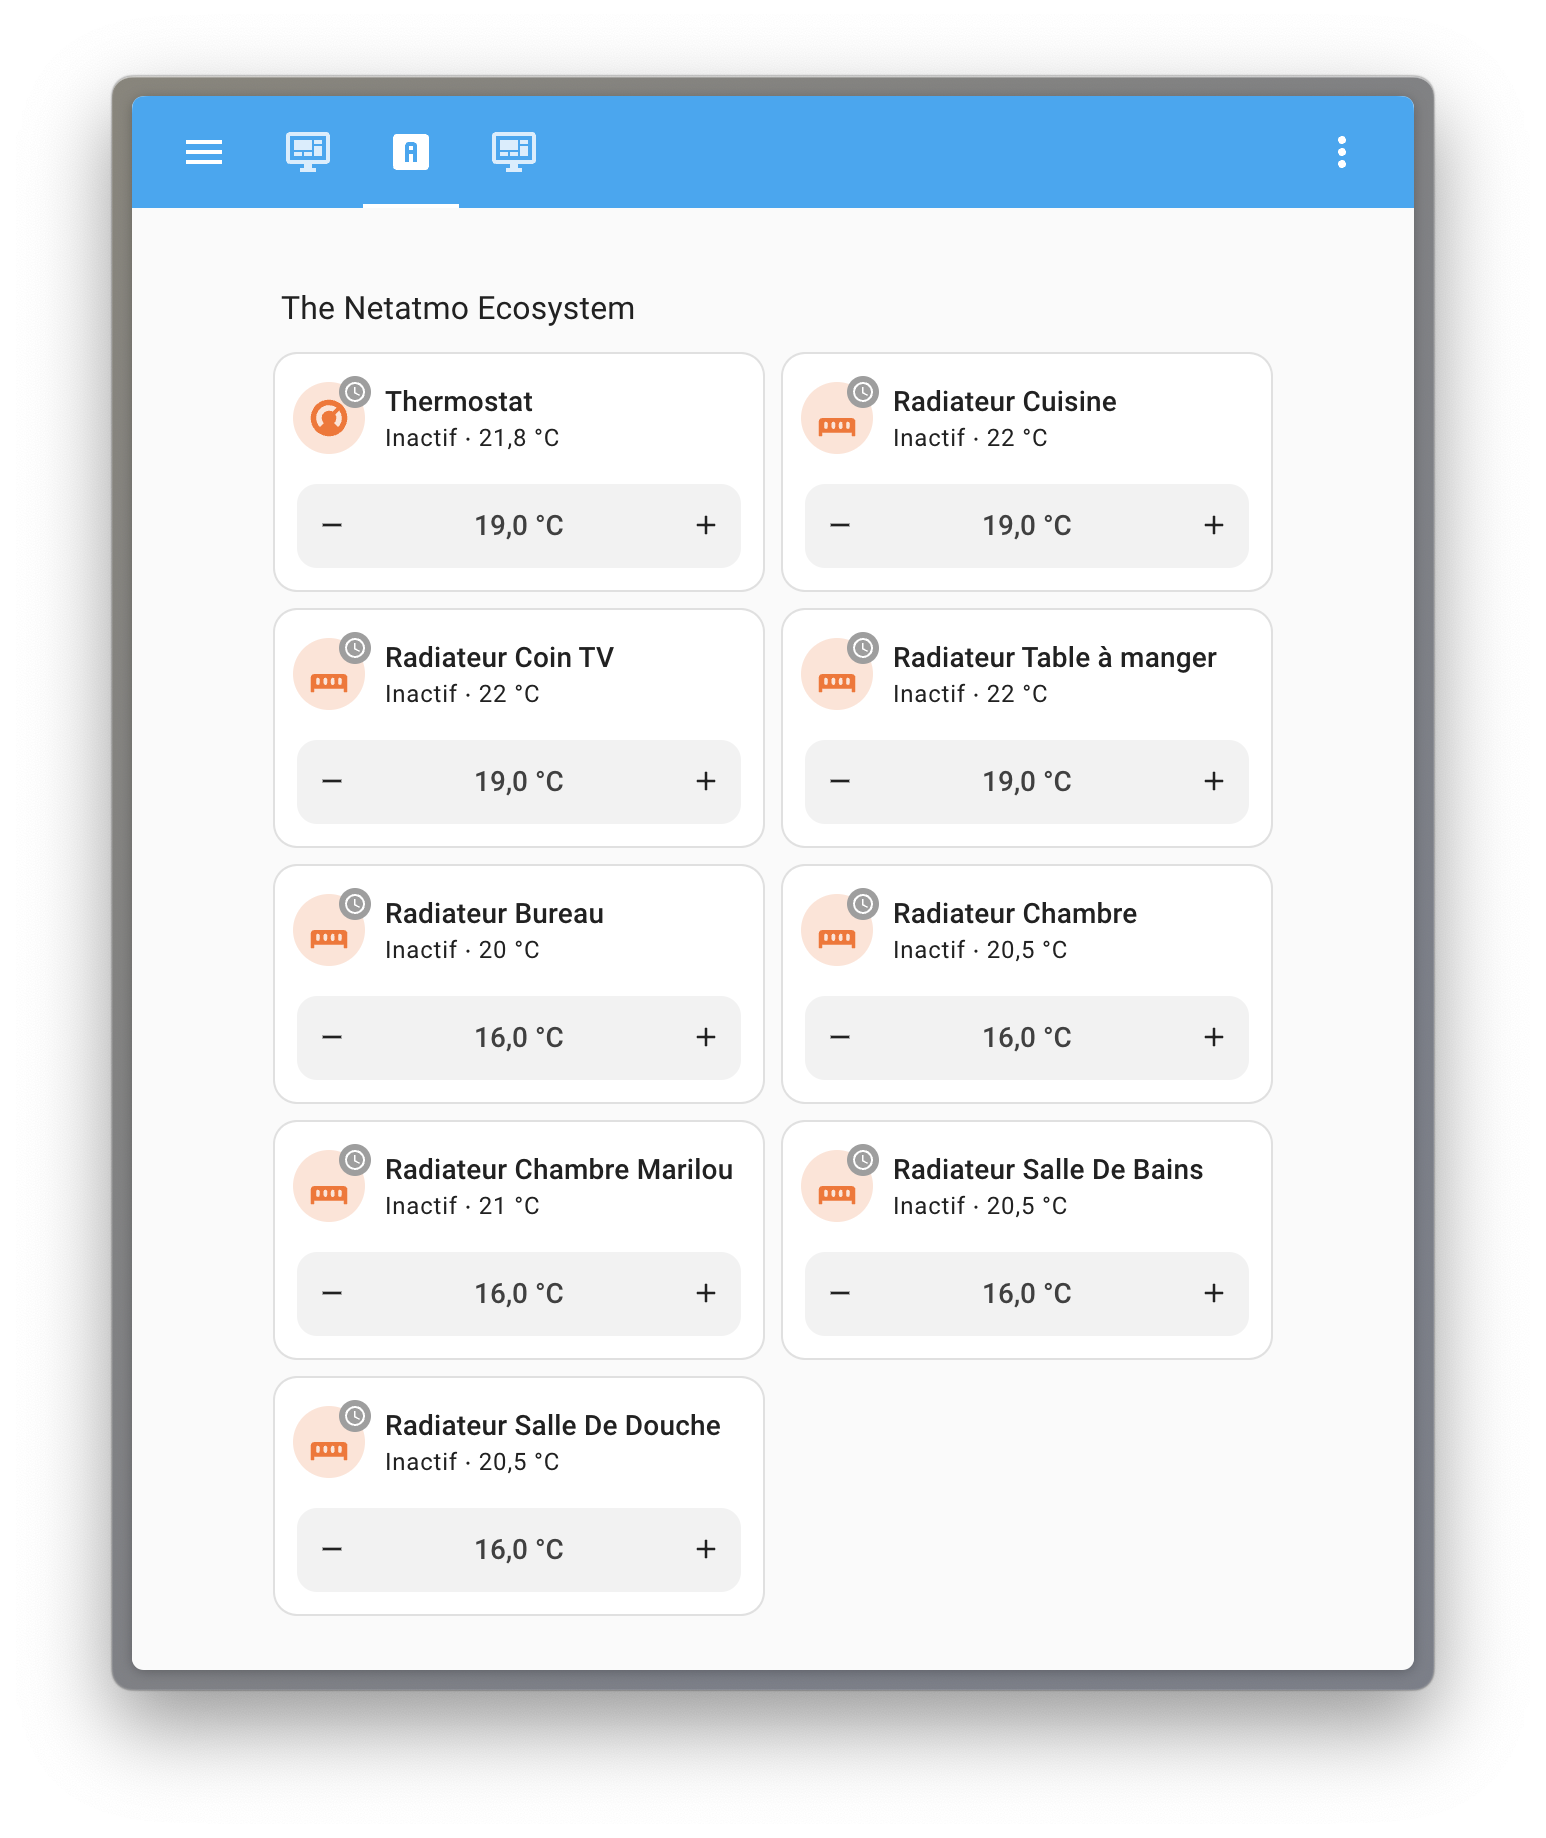
A climate entity is simply a representation of something that heats or cools (or both). It has a current temperature, a target temperature, and a mode. My climate entities are "pure heating" entities, they have only one mode, heating. If the target temperature is above the current one, it heats, else it is idle. It does not get simpler than that.
Presence
I also have presence sensors in every room. Mine are Everything Presence One. They are awesome.
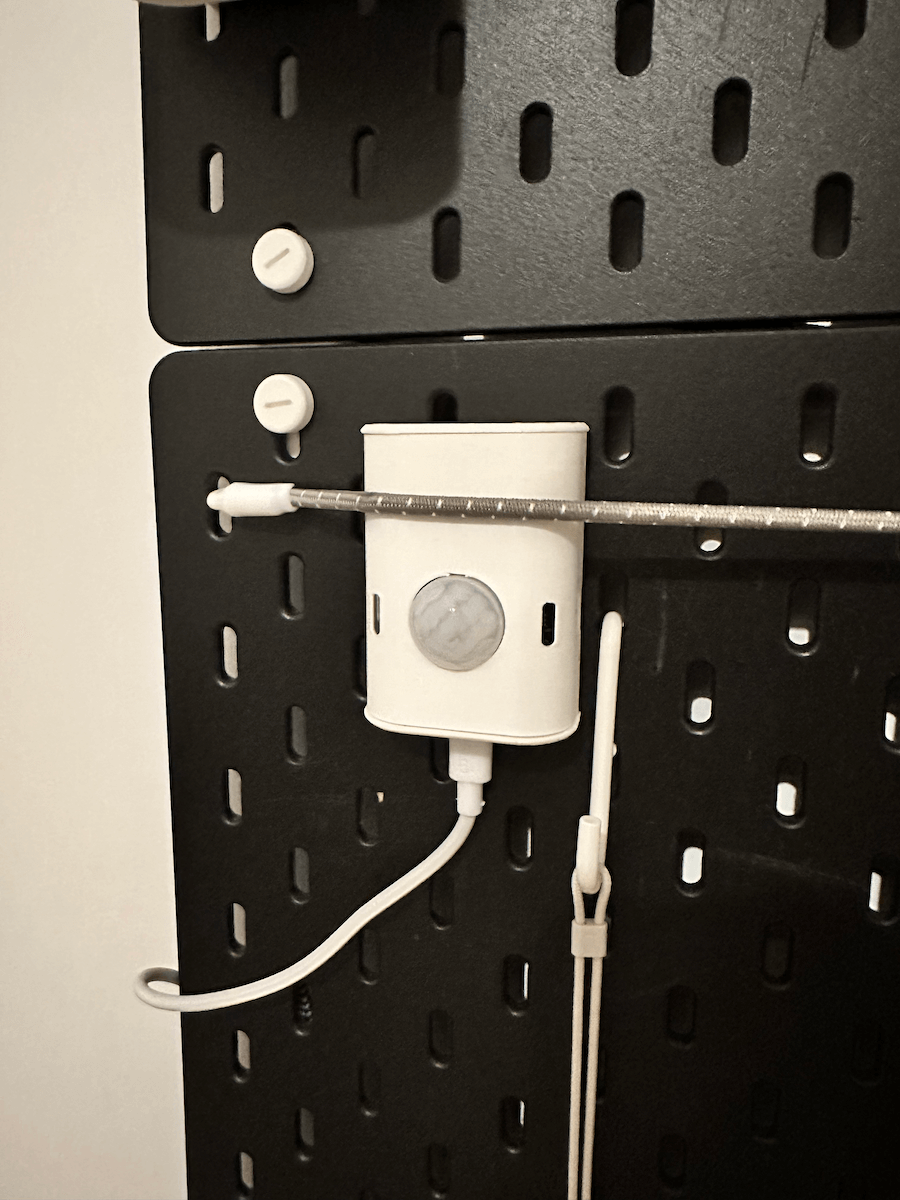
A presence sensor is simply a sensor that detects presence (not movement!). These ones use a technology called mmWave sensing. They detect movements as small as a fraction of a millimeter, such as the chest movements from a beating heart, or breathing.
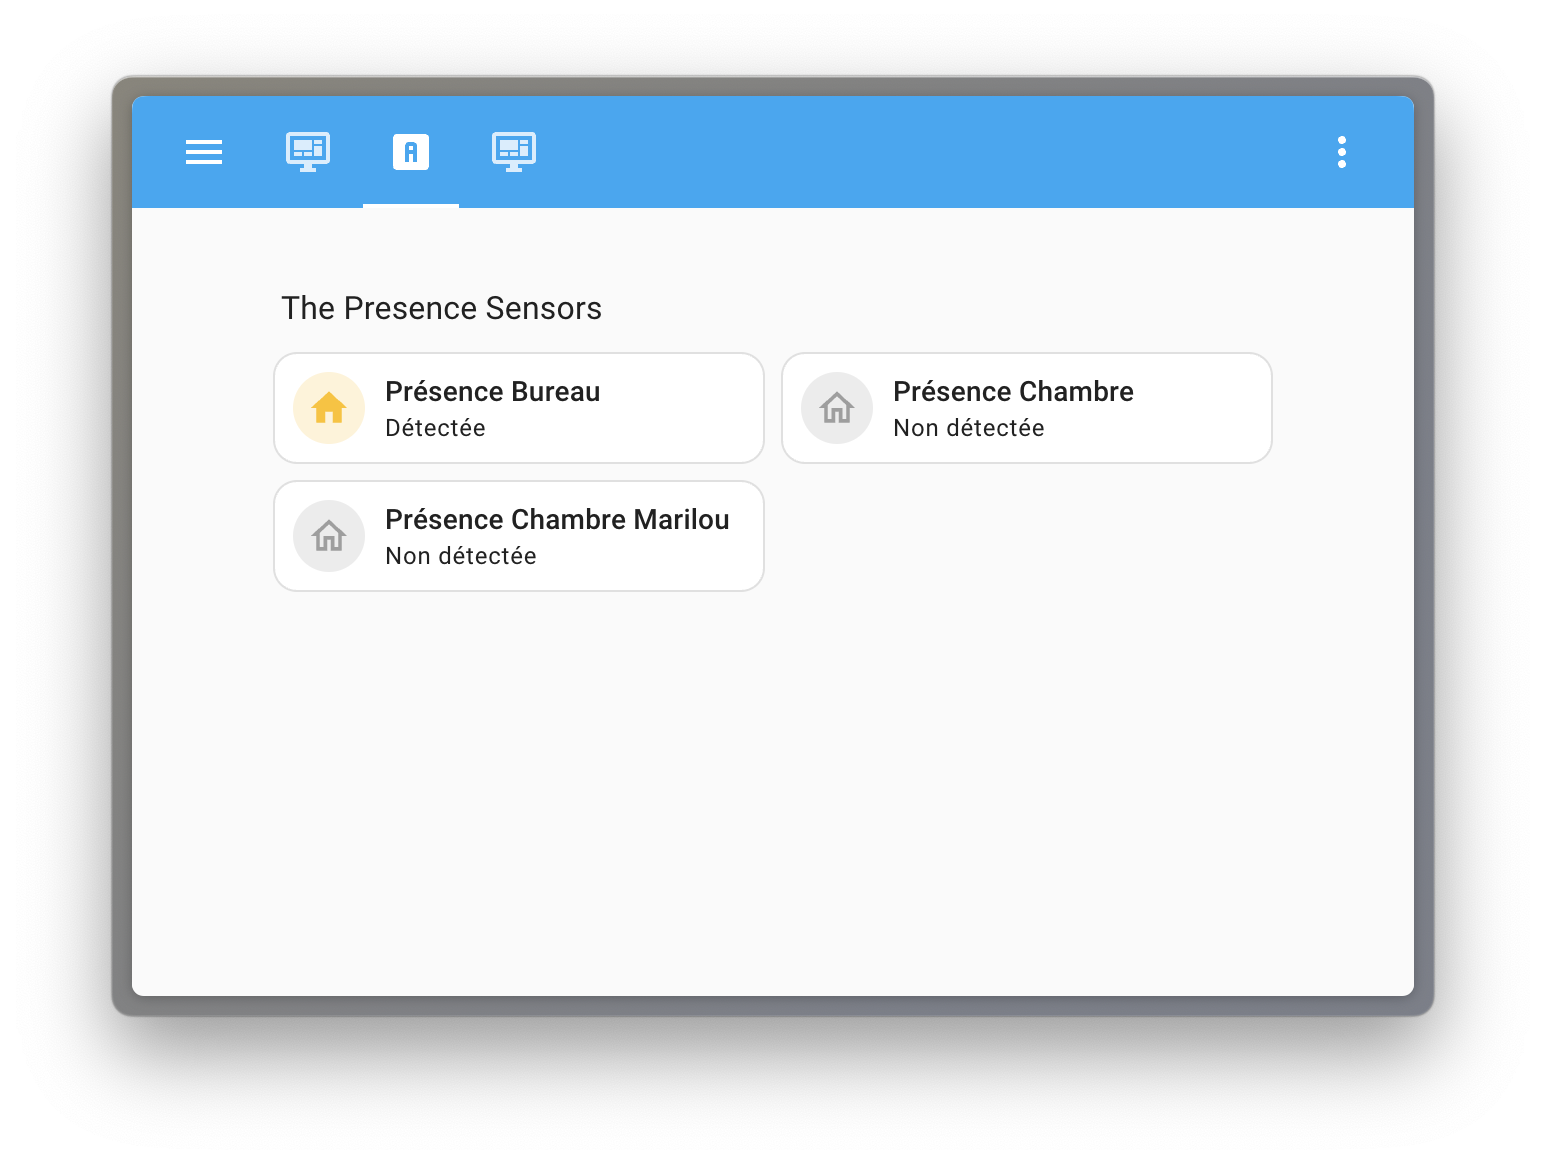
A simple boolean value that is either on when presence is detected, or off otherwise
Openings
I also have contact sensors on all my windows and doors. Mine are Zigbee Aqara sensors. I bought a dozen of them second-hand. These things are unkillable, I just changed the battery when I received them.
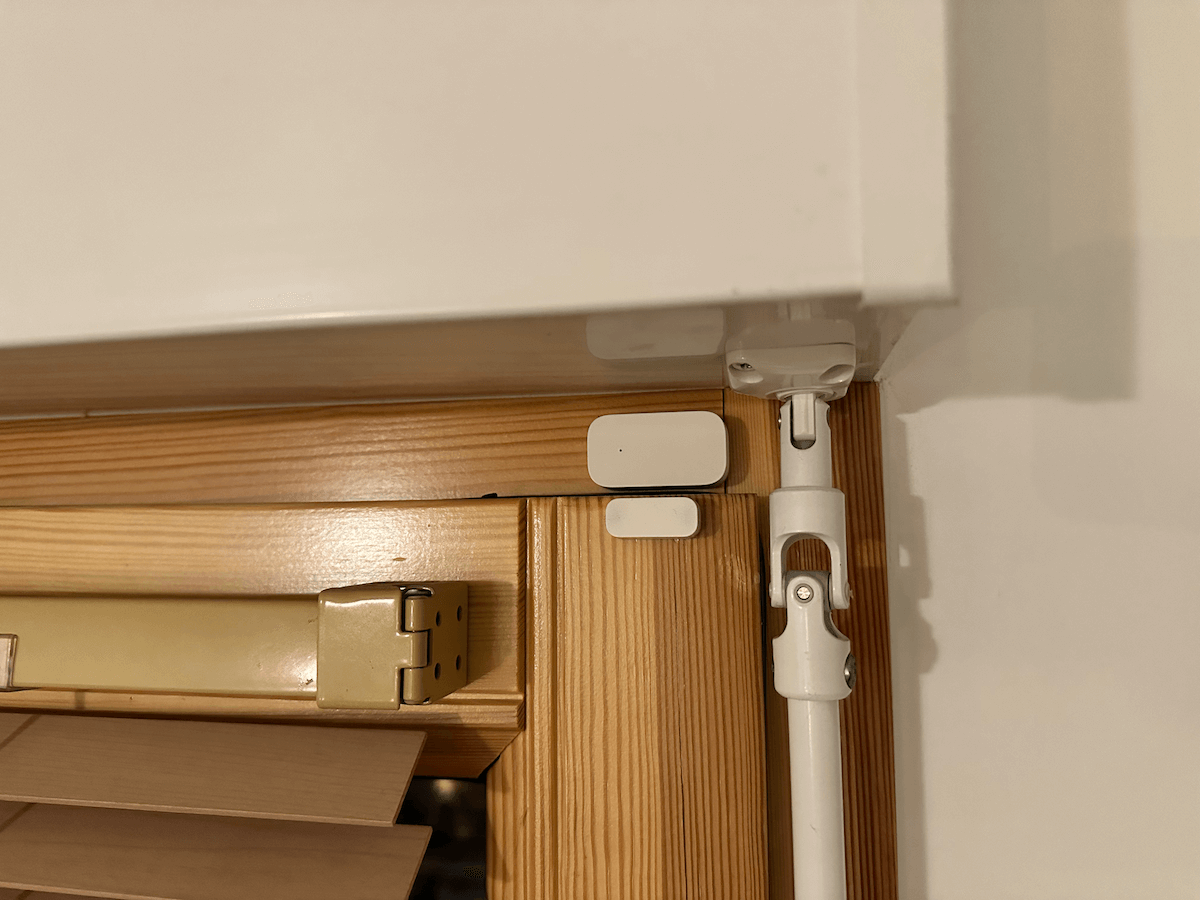
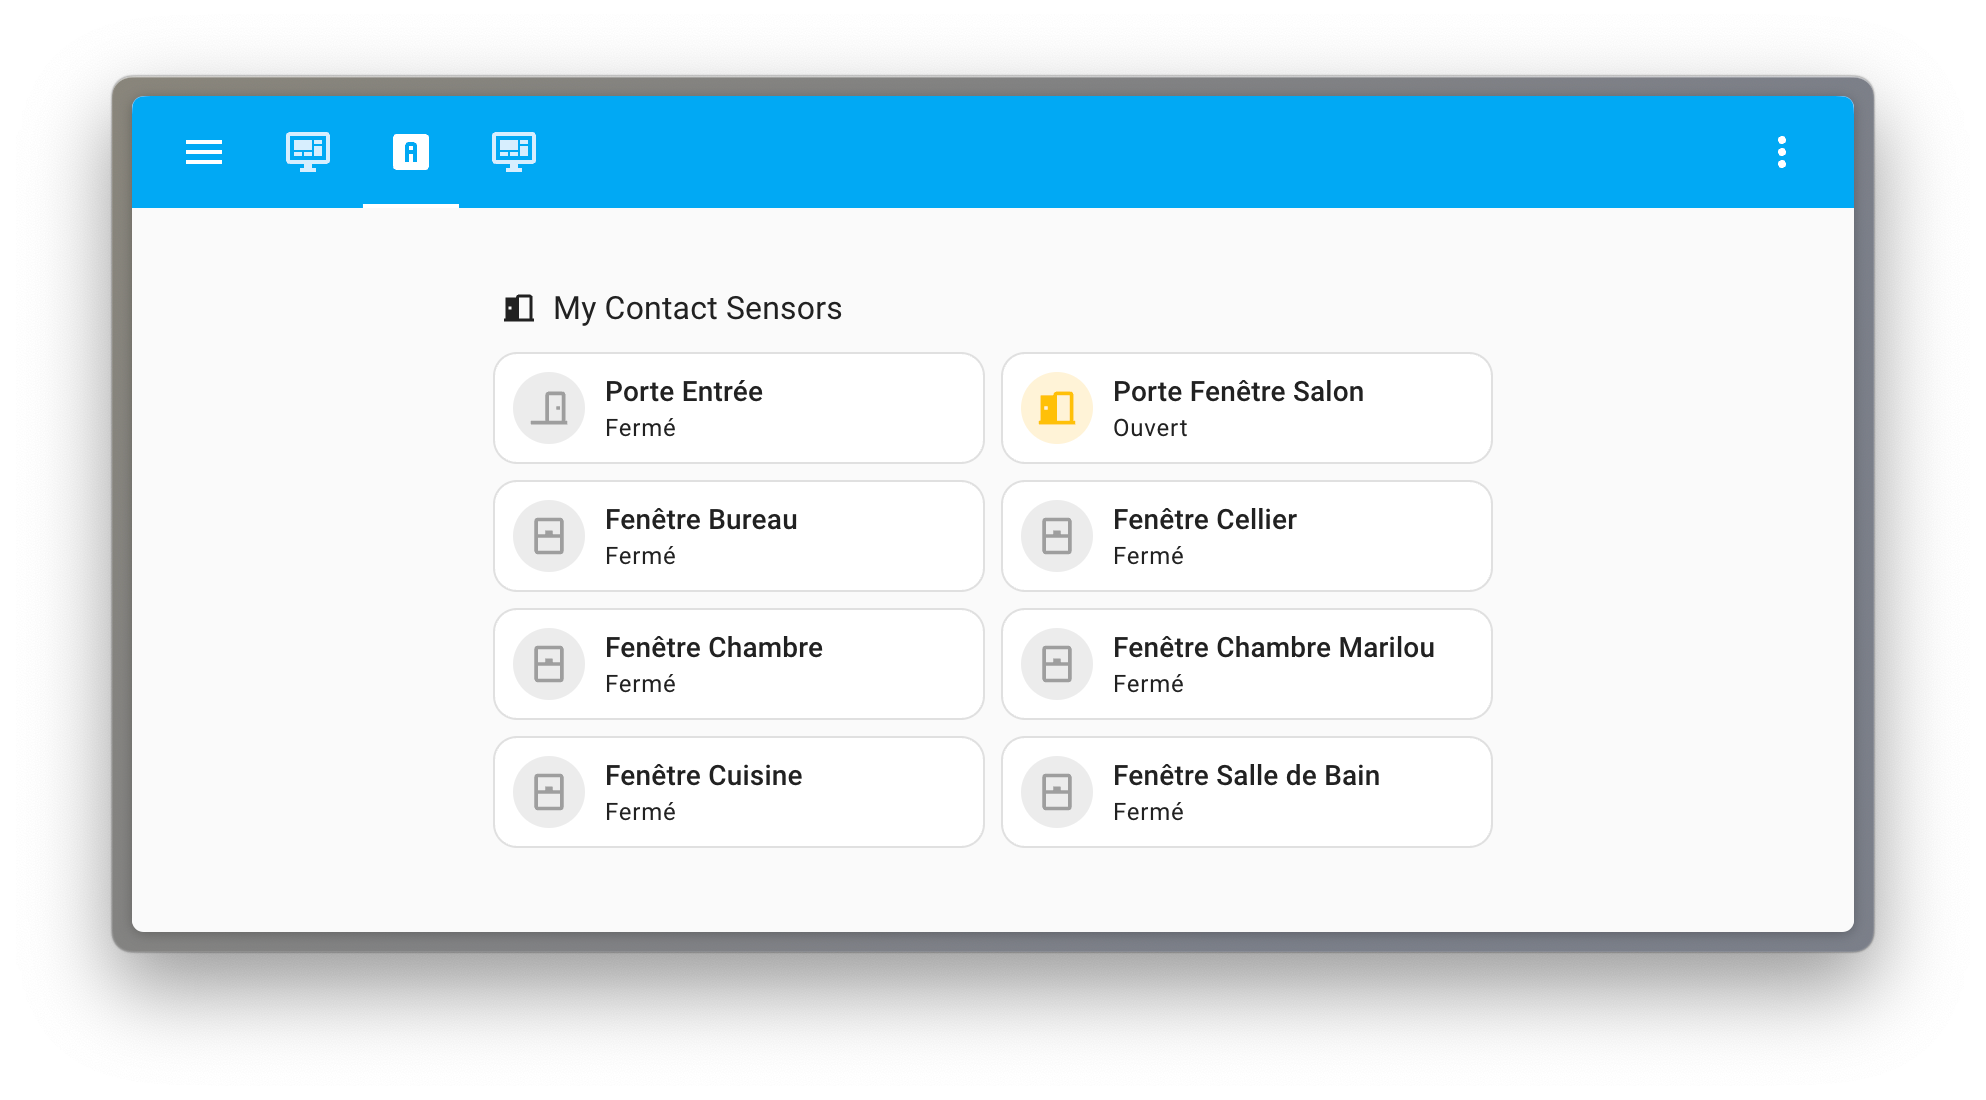
A simple boolean value that is either on when the "support' (door or window) is open or off otherwise.
This is all the hardware I use for my heating system.
The plan
In this blog post, I'll focus on a single room, not because I am lazy or want to hide complexity, but simply because it's all you need to know to understand the whole system. What I did in a room, I repeated it in every other room.
So I'll focus on my office, it's a pretty generic room in my home. It has a window with a contact sensor, a presence sensor, and a radiator. That's about it.
Let's start by looking at the bigger picture, and break it down into pieces.
I want modes, driven by a few inputs such as the state of my window or the presence in my office. Modes will drive the target temperature. The target temperature, and also the manual override, will drive the radiator.
- Inputs drive modes
- Modes drive the target temperature
- The target temperature (And the overdrive) drives the actual radiator

The modes
We need to start somewhere, let's start with the modes. They seem to be the simplest to grasp when starting from a blank page.
I want 3 modes in this specific room.
Presentwhen I am presentAbsentwhen I am notVentwhen the windows are open

The target temperatures
I researched online the local heating recommendations and found that for a "living space", such as a living room or an office, the recommended target temperature when the room is used is 19°C. When the room is not used, it is 16°C.
Then, most heating specialists recommend setting a minimum temperature of 7°C if the windows are open to prevent pipes from bursting if something really bad happens and you need to leave your house unattended for a long time with the windows open in cold winter (This is called Frost Protection or Frost Guard)

The inputs
I do not want to change modes manually, so I need to find the triggers and conditions that will drive my modes.
We already talked about most of it, now let's clarify the details.
If the windows are open, whether I am present or not in the room, I want the mode to be set to Vent. To avoid constantly changing the modes, and also because a heating system has an inherent inertia, let's add a small minimum duration and say that the mode should be set to Vent if the windows are open for more than 5 minutes.
5 minutes could seem a bit random, but I usually vent my office during breaks. (I have an Air Quality sensor in every room that shows it's enough in my case)
Then if the windows are closed, I want the mode to be set to Present if presence is detected, else to Absent. Let's also solve all the small nuances here. Presence detection can be finicky sometimes, and detect presence when there is not (We call this a false positive) or not detect presence when there is (We call this a false negative). I also want to avoid setting a room to Present just because I went there to grab something, so let's also put a 5-minute minimum duration. I also live with pets that constantly trip presence detection, I cannot really do much here but I can at least optimize one common use case: If the home is empty, then I'll ignore the granular room presence sensors.
All in all, it looks like this:

The override
The override can look daunting. Is it another mode? Is it something else?
There are dozens of ways to implement an override, but I picked the simplest one (It has limitations that I am fine with because I rarely use this feature)
In Home Assistant, you can trigger an automation when something changes, or when something changes and stays "there" for a duration (We used that for the contact sensor and presence states above).
I decided to use this for my override, to trigger something when the target temperature of my radiator changed for 1 hour.
This can happen for two reasons:
- One hour after a mode change (in this case, the target temperature should be coherent with what the current mode is dictating)
- One hour after a manual override (in this case, the target temperature should not be coherent with what the current mode is dictating)
So I decided to simply re-apply the target temperature of the mode when the target temperature of my radiator has changed for 1 hour. If no override exists, it will be coherent and nothing will change. If an override exists, it will be erased.

Alright, the planning is done.
To be honest, we know what we want to do, but this still looks daunting at first. Look at the whole picture!

The implementation
In this section, we are going to implement this, but we are going to break it down into smaller, simpler, more manageable parts.
Eventually, the implementation will be a succession of simple parts, and the complexity will only lie in the whole.
The modes
Let's start simple, we defined 3 modes, let's represent them. We will use a dropdown helper that will represent our heating modes.
As we are going to create a few of them in this post, let's do the first one together.
Helpers can be found under Settings > Devices and Services > Helpers. Or simply by clicking on that big button:
The creation process of a helper is straightforward. Here is me creating the heating office modes.
The target temperatures
Each mode has a target temperature attached to it, let's create three new helpers, one per mode that store that target temperature. This time, we will use a number helper. I won't show all the creation of the helpers, it's a matter of following what is on the screen 😉
This is what we have done so far. Nothing is automated, nothing is even linked. We just have a dropdown and 3 numbers
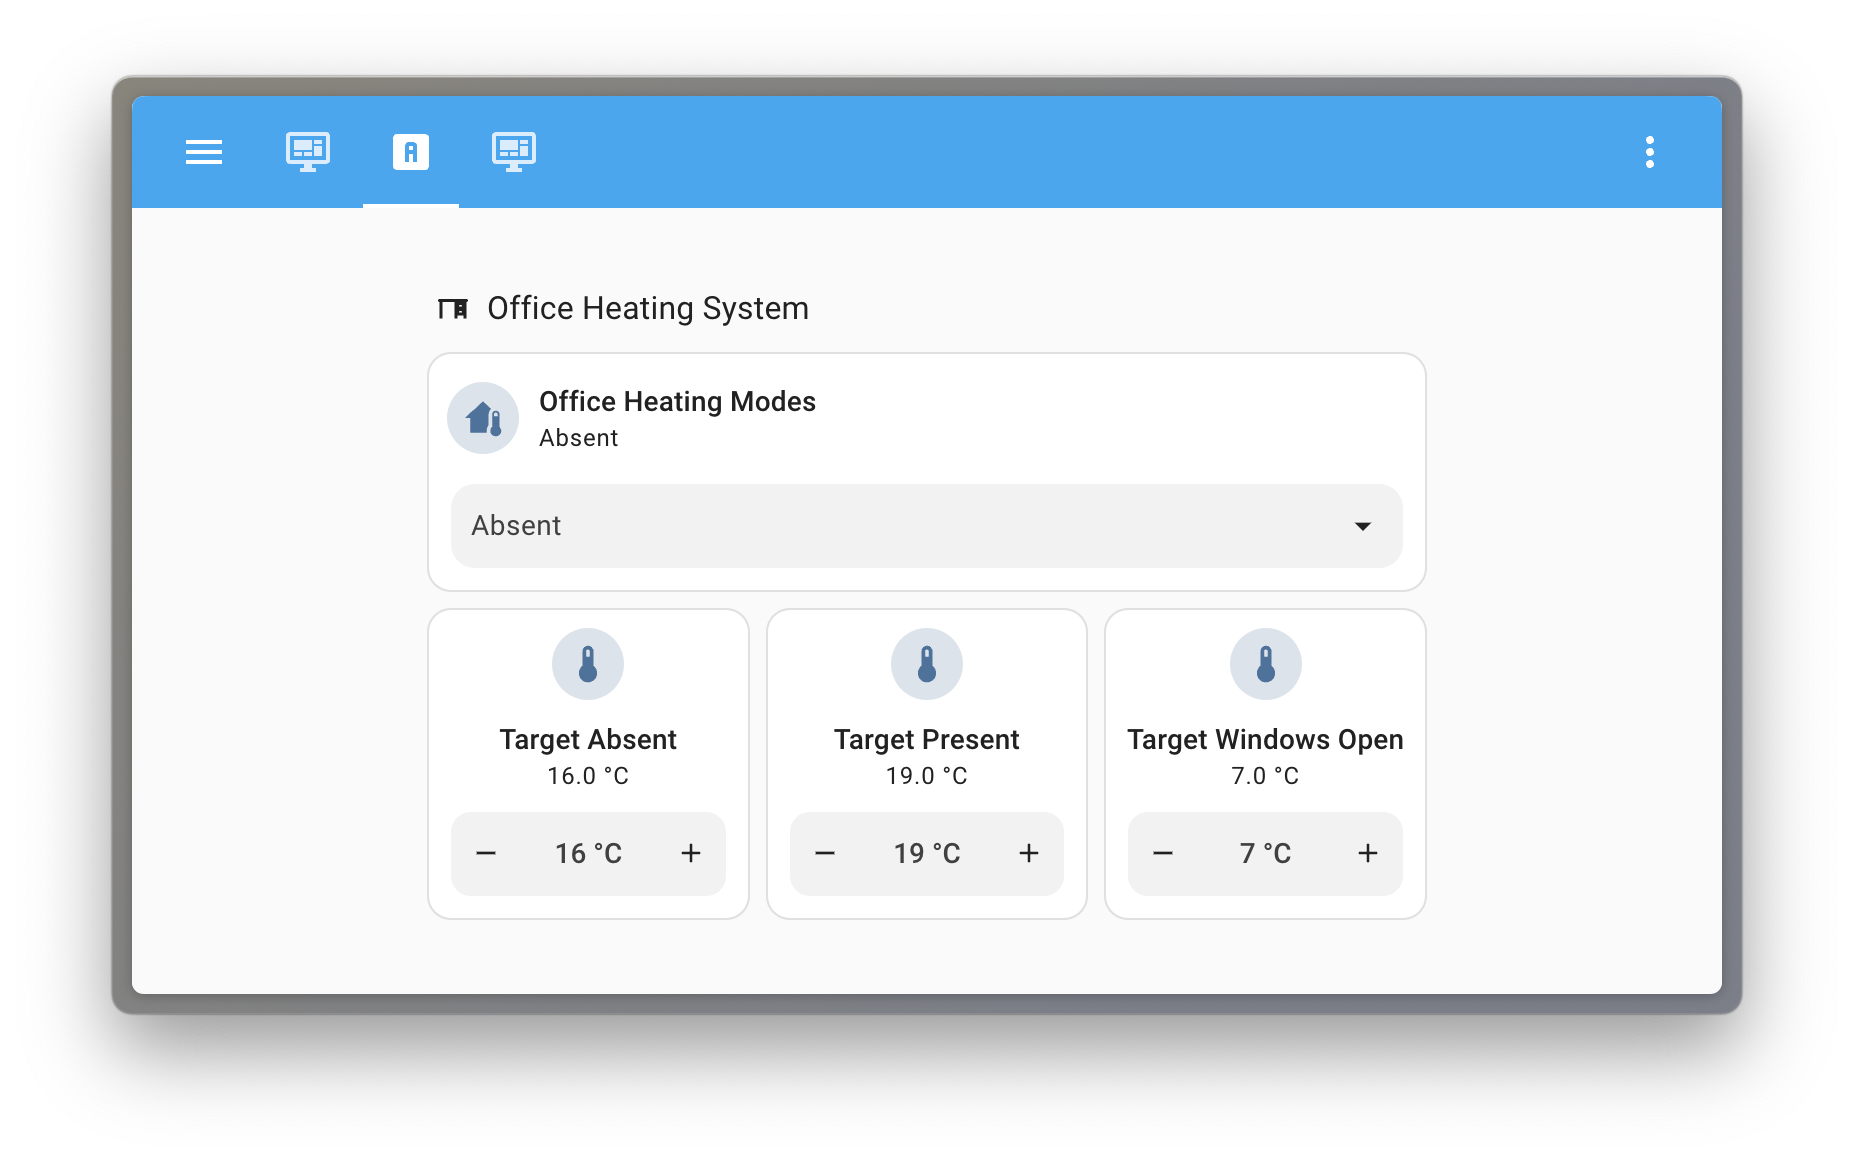
Let's tie the targets and the modes by creating, you guessed it, another number helper that will represent the overall office target temperature. And this time, let's automate it.
The automation is really simple.
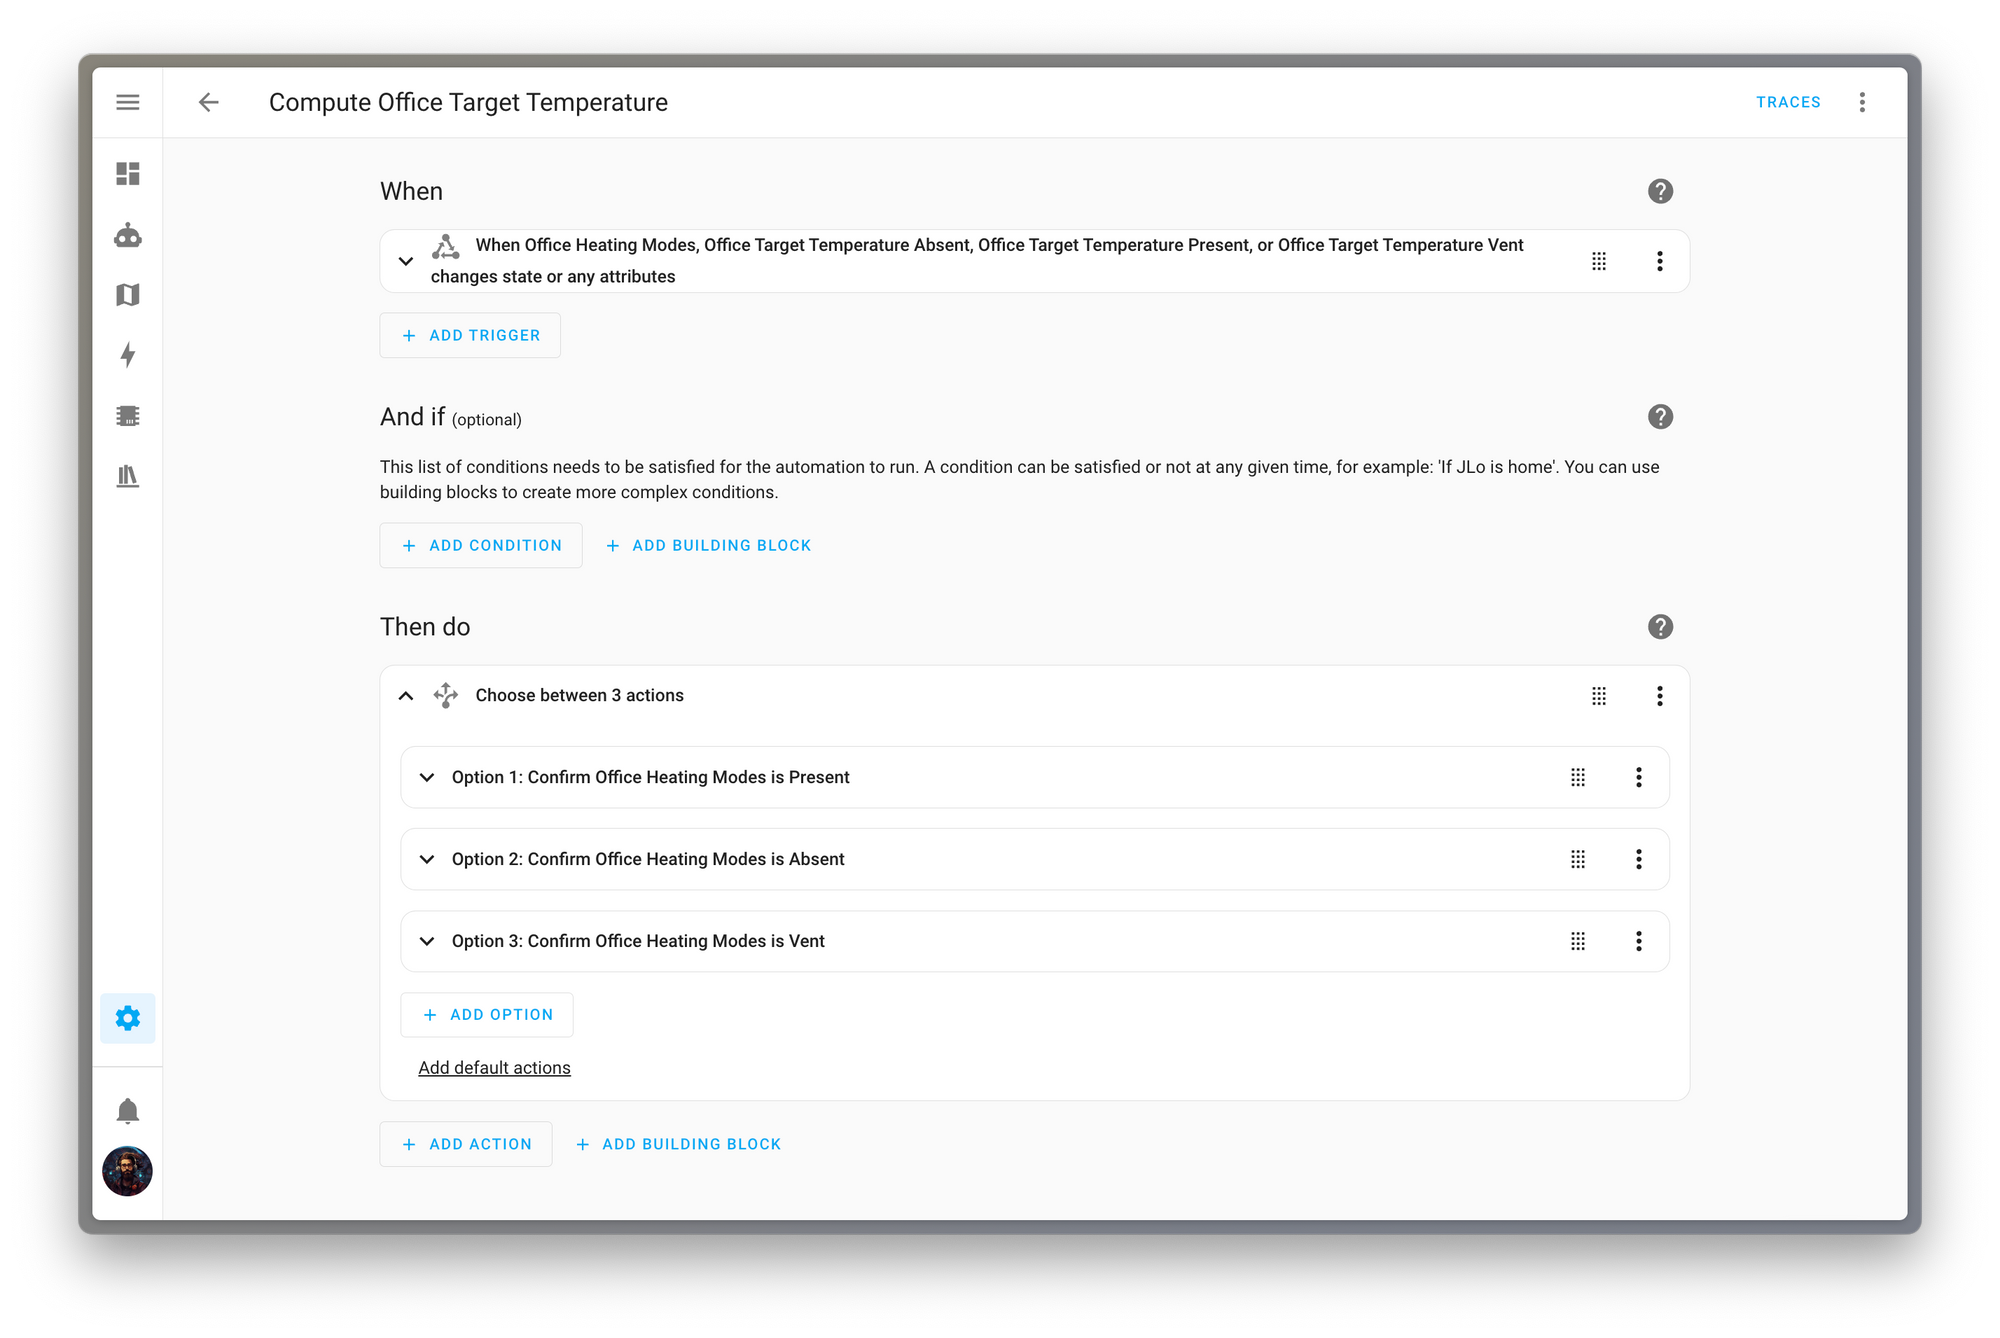
We trigger on everything, a change of mode or a change of our 3 helpers holding the target temperature for each mode.
Then based on the mode, we set the value of the office target temperature based on the target temperature of the mode.
The YAML looks like this but don't get discouraged by it, it's simple to do via the UI
alias: Compute Office Target Temperature
triggers:
  - trigger: state
    entity_id:
      - input_select.office_heating_modes
      - input_number.office_target_temp_absent
      - input_number.office_target_temp_present
      - input_number.office_target_temp_vent
  - event: start
    trigger: homeassistant
actions:
  - choose:
      - conditions:
          - condition: state
            entity_id: input_select.office_heating_modes
            state: Present
        sequence:
          - action: input_number.set_value
            data:
              value: "{{states('input_number.office_target_temp_present')}}"
            target:
              entity_id: input_number.office_target_temp
      - conditions:
          - condition: state
            entity_id: input_select.office_heating_modes
            state: Absent
        sequence:
          - action: input_number.set_value
            data:
              value: "{{states('input_number.office_target_temp_absent')}}"
            target:
              entity_id: input_number.office_target_temp
      - conditions:
          - condition: state
            entity_id: input_select.office_heating_modes
            state: Vent
        sequence:
          - action: input_number.set_value
            data:
              value: "{{states('input_number.office_target_temp_vent')}}"
            target:
              entity_id: input_number.office_target_temp
mode: singleHere is the result:
Prettty cool! We built a brick, a small brick but that complexity is taken care of now. We will never have to deal with it ever again.
Let's move on.
The inputs
Input will only drive the modes. Modes are already driving the target temperature. This is the beauty of breaking down the problem into smaller parts. Once a part is taken care of, we do not deal with it again.
The automation for this part is also straightforward.
I trigger on every input, some with a duration
- The state of my home
- The presence in my office with a 5-minute duration
- The state of my window with a 5-minute duration
Then I select the mode based on the conditions we already defined in the planning (If the window is open, it's Vent, if both the home presence and the office presence are on, it's Present, otherwise, it is Absent)
Again everything can be done via the UI, but the YAML looks like this:
alias: Compute Office Heating Modes
triggers:
  - trigger: state
    entity_id:
      - input_select.home_modes
  - entity_id:
      - binary_sensor.office_window
    for:
      minutes: 5
    trigger: state
  - entity_id:
      - binary_sensor.office_presence
    for:
      hours: 0
      minutes: 5
    trigger: state
  - event: start
    trigger: homeassistant
actions:
  - choose:
      - conditions:
          - condition: state
            entity_id: binary_sensor.office_window
            for:
              minutes: 5
            state: "on"
        sequence:
          - action: input_select.select_option
            data:
              option: Vent
            target:
              entity_id:
                - input_select.office_heating_modes
      - conditions:
          - condition: state
            entity_id: binary_sensor.office_presence
            state: "on"
            for:
              minutes: 5
          - condition: state
            entity_id: input_select.home_modes
            state: Occupied
        sequence:
          - action: input_select.select_option
            data:
              option: Present
            target:
              entity_id: input_select.office_heating_modes
    default:
      - action: input_select.select_option
        data:
          option: Absent
        target:
          entity_id:
            - input_select.office_heating_modes
mode: single
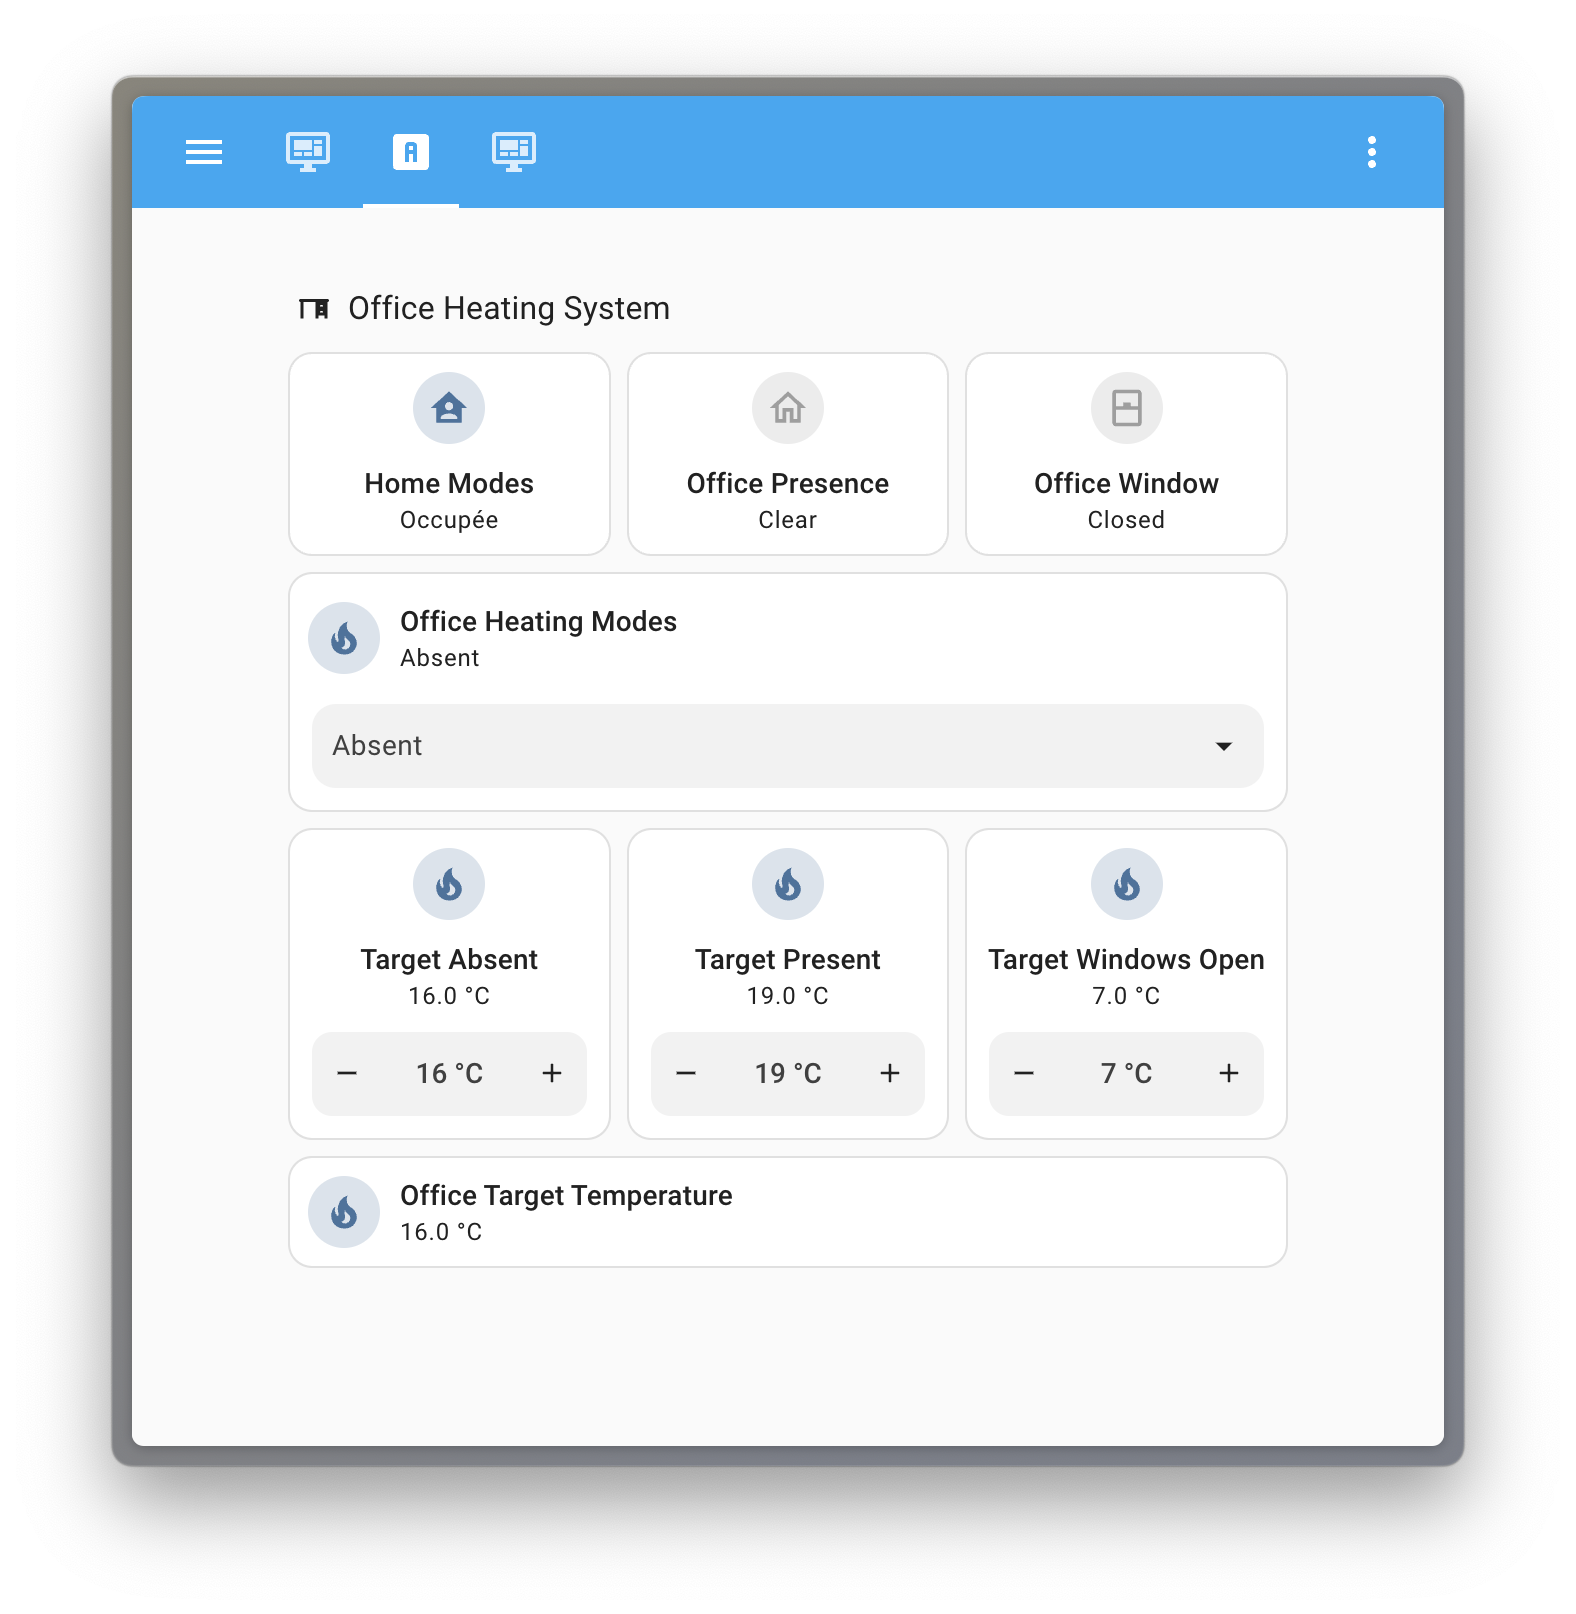
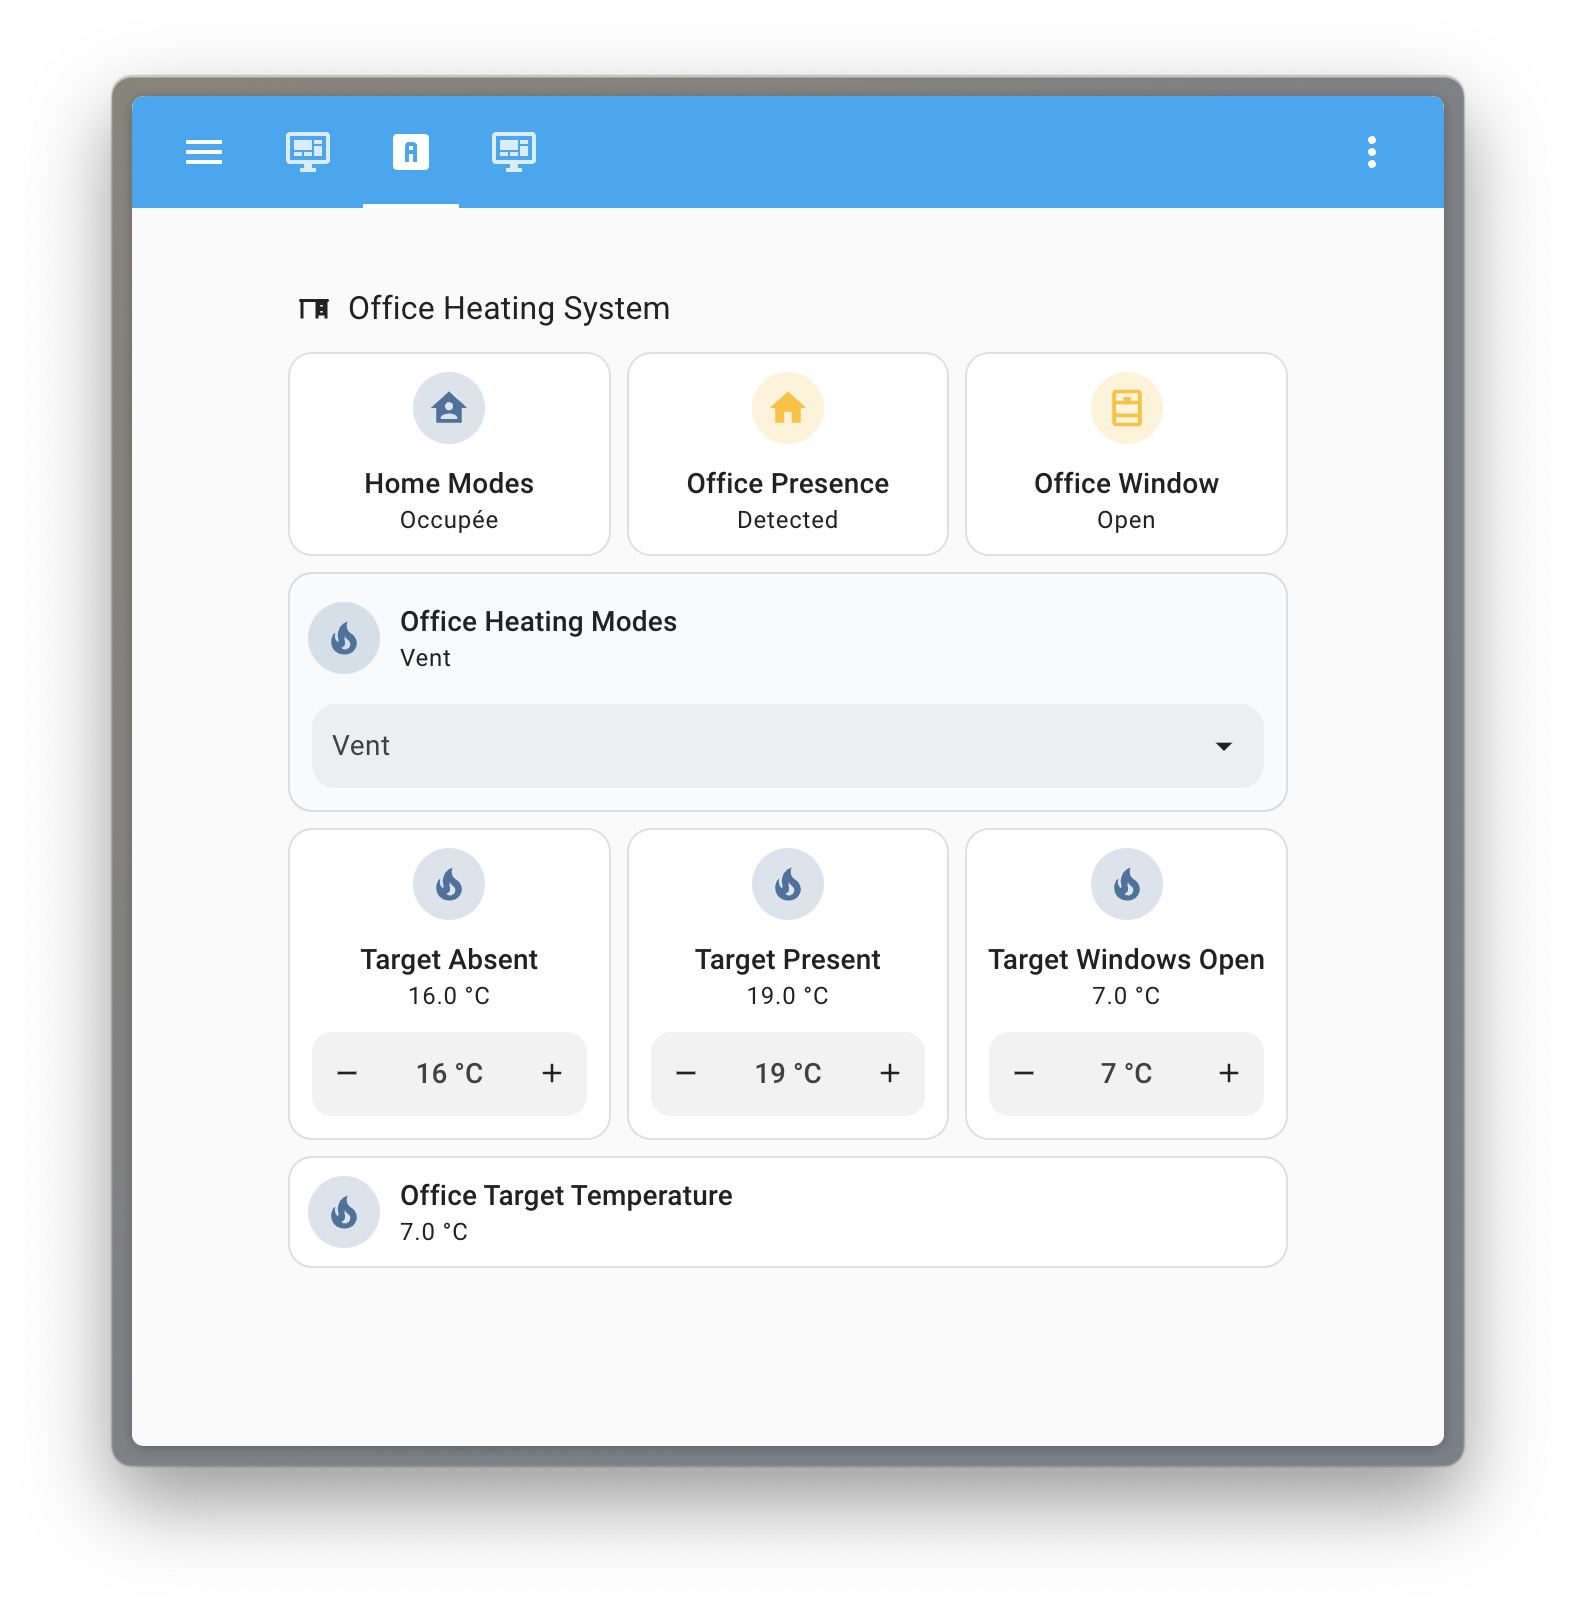
We built more than half now! And we did not even touch the radiator yet. Here are a few screenshots of different cases.
Presence in the house, but not in the office, windows closed.
Mode: Absent
Target temperature: 19°C
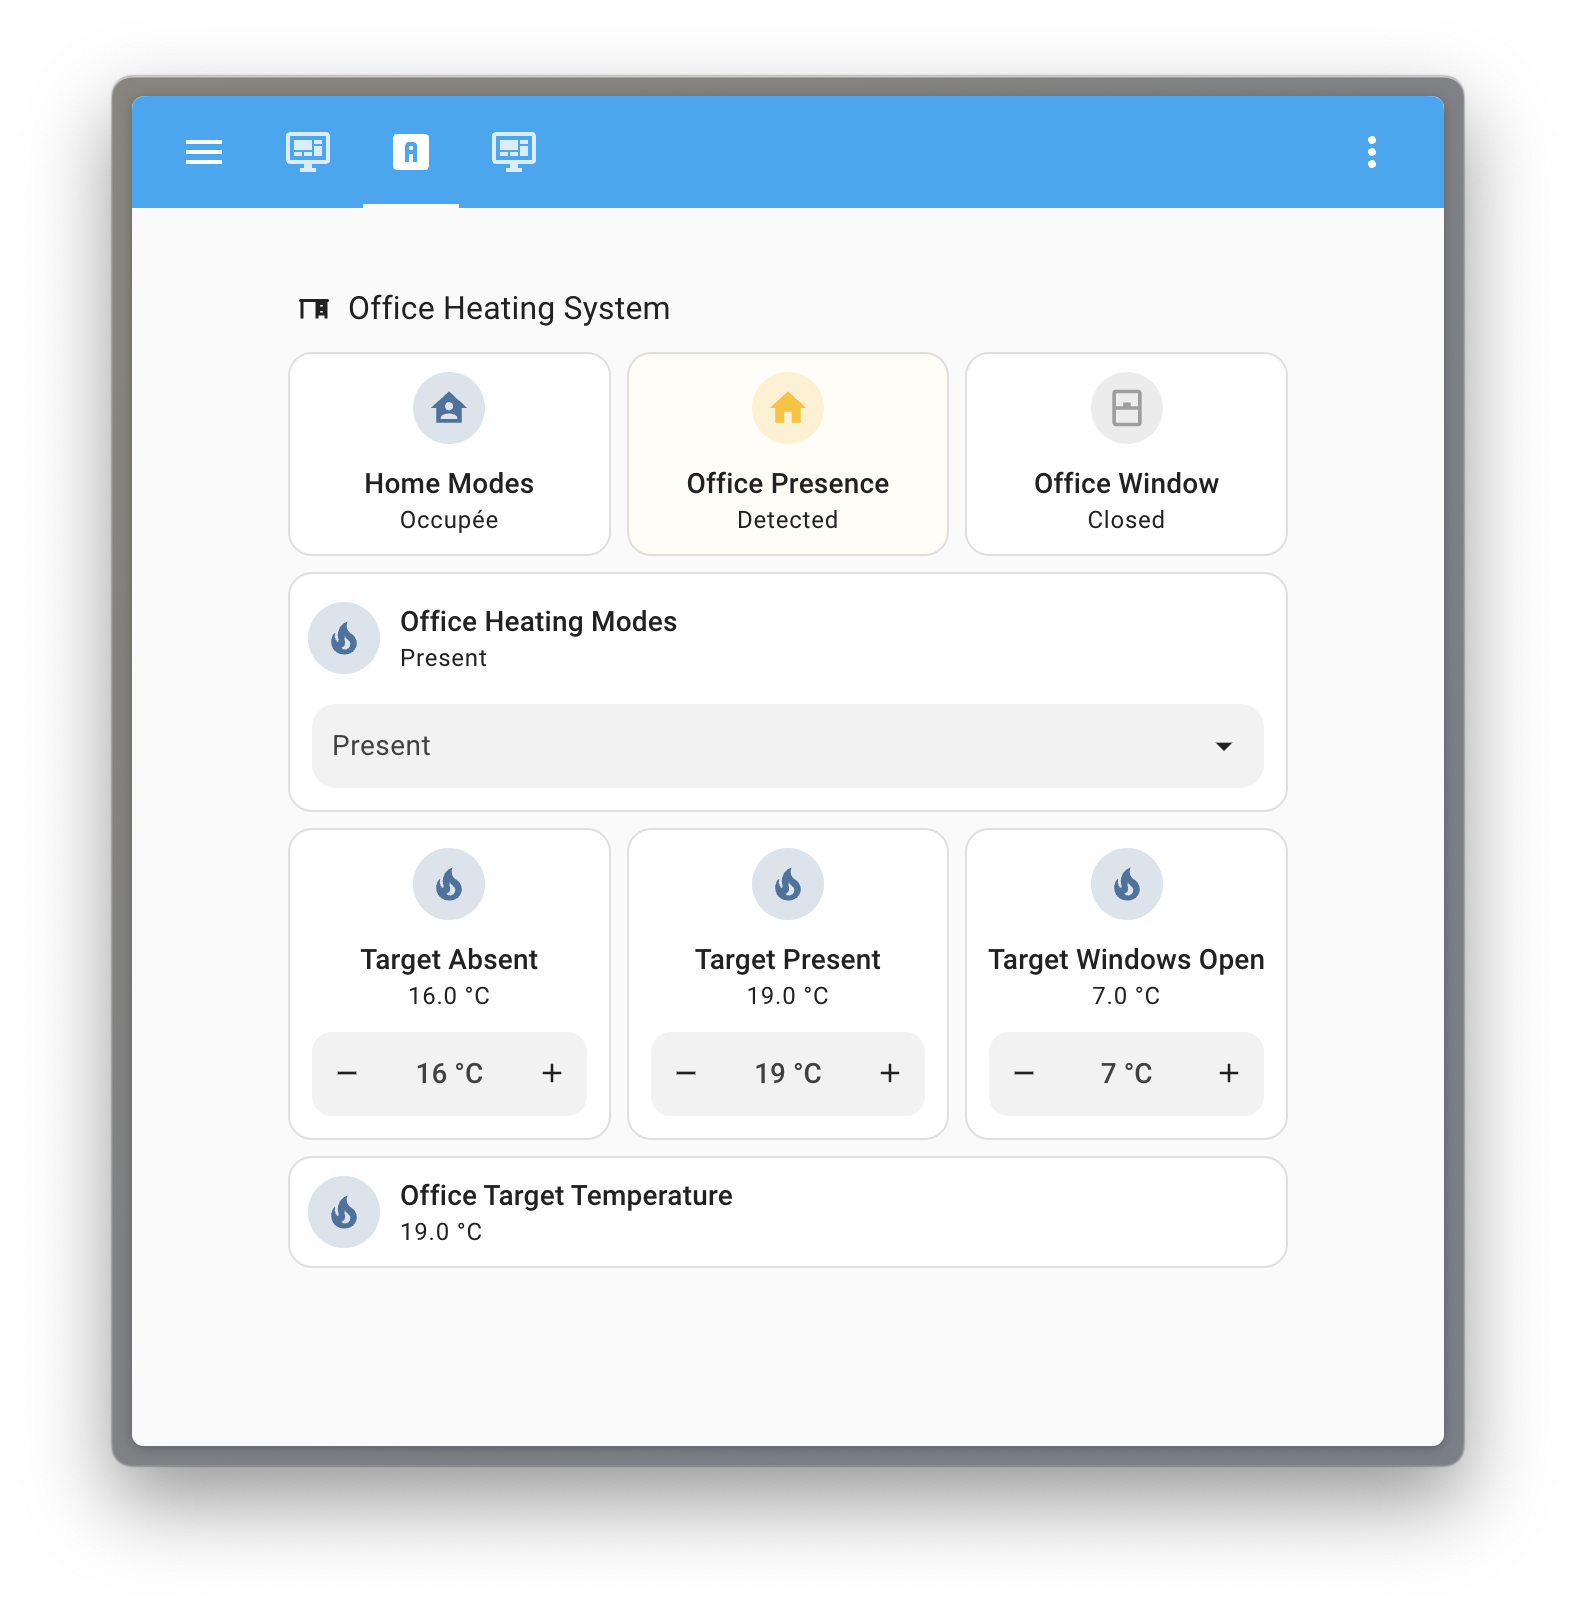
Presence in the office, windows closed.
Mode: Present
Target temperature: 19°C
Presence in the office, windows open.
Mode: Vent
Target temperature: 7°C
Let's finally drive this radiator
The two automations we created are simple. The first one drives the mode based on a few inputs, and the second one drives the target temperature based on the mode.
The last one is also going to be simple, especially since we have all this architecture already in place. We are simply going to drive the radiator itself based on the target temperature.
I trigger on two things:
- An immediate change in our office target temperature helper.
- A change in the radiator target temperature for 1 hour (this is for the override)
Then, regardless of the trigger, I will just apply (or re-apply) the target temperature to the thermostat.
It looks like this:
alias: Drive Office Radiator
triggers:
  - entity_id:
      - input_number.office_target_temperature
    trigger: state
  - entity_id:
      - climate.office_radiator
    attribute: temperature
    for:
      hours: 1
    trigger: state
  - event: start
    trigger: homeassistant
actions:
  - action: climate.set_temperature
    data:
      temperature: "{{states('input_number.office_target_temperature')}}"
    target:
      entity_id: climate.office_radiator
mode: single
That's it?
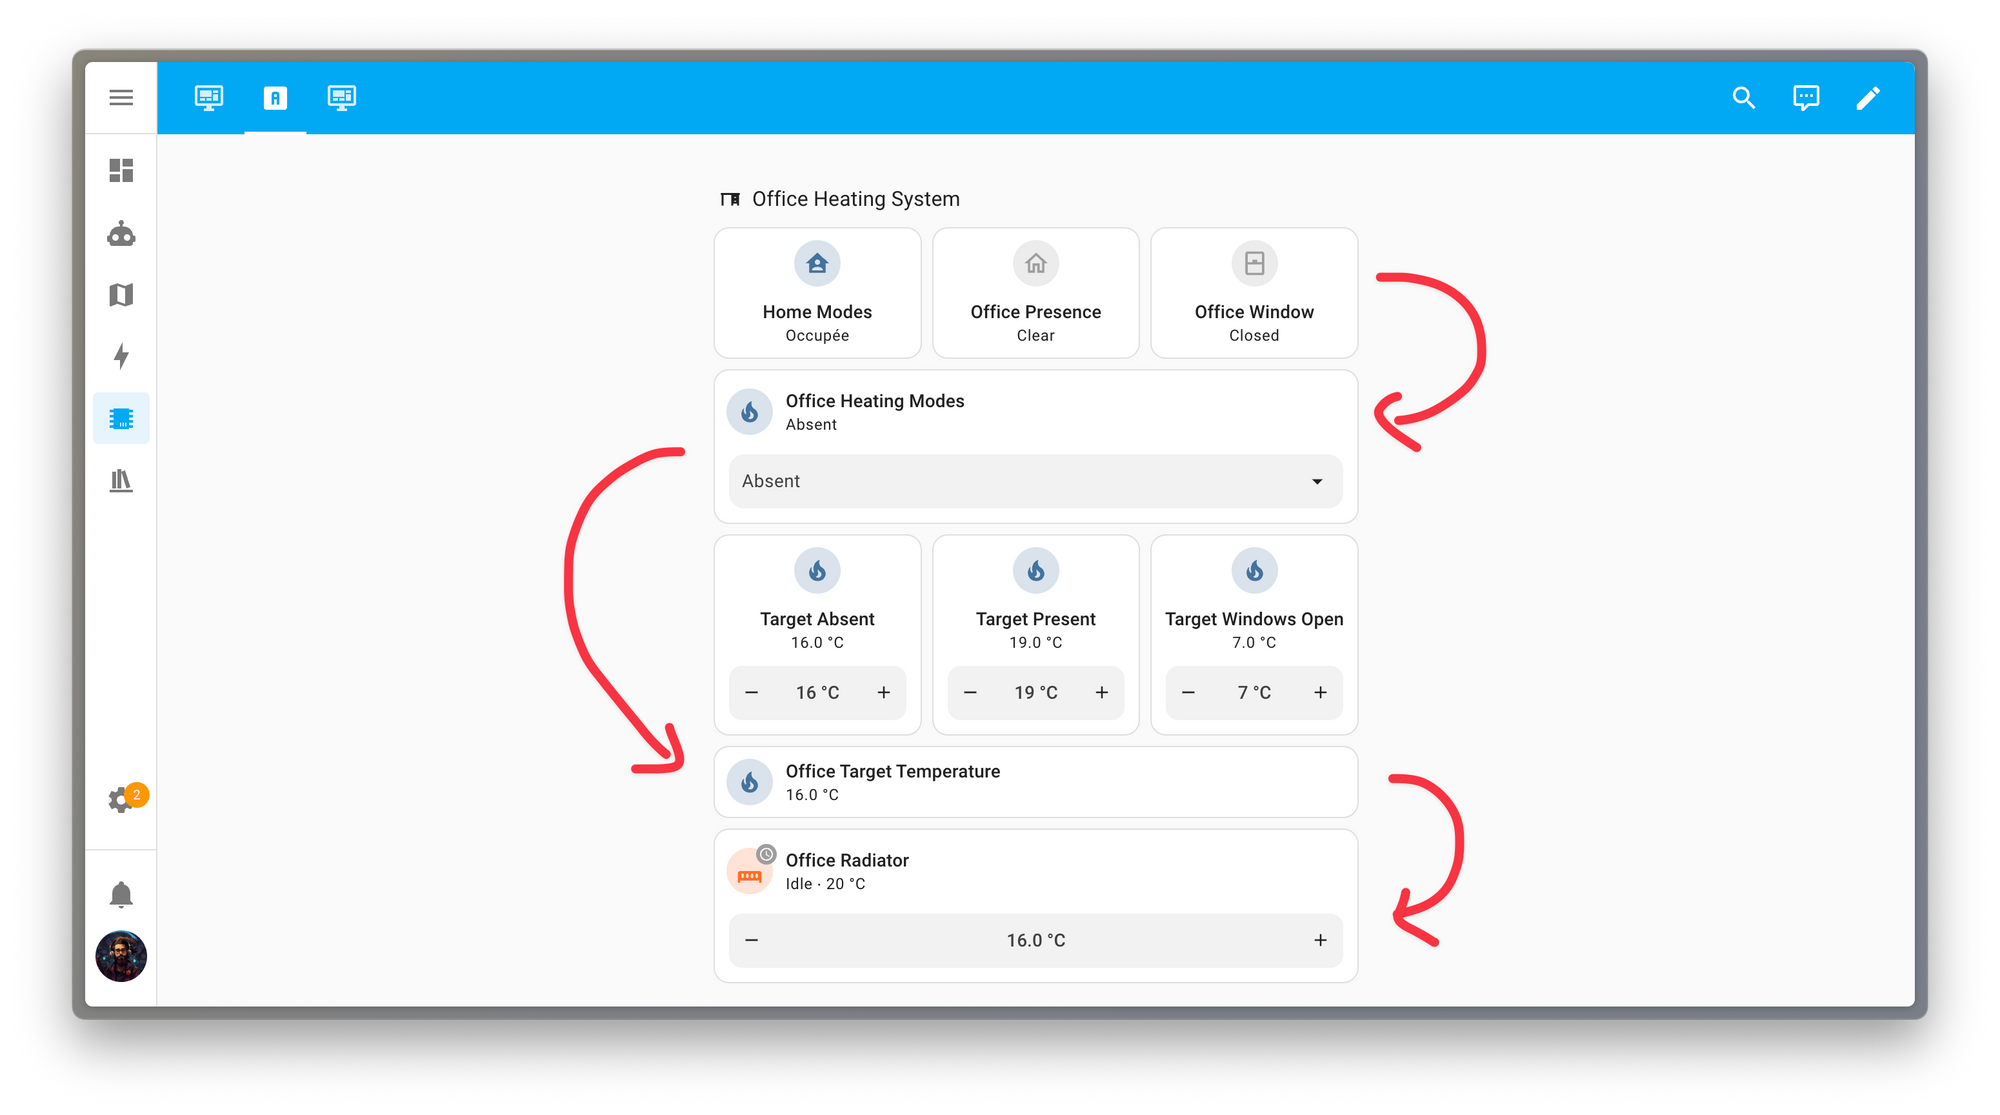
Yes! 3 simple automations working as a small chain
- The input drives the mode
- The mode drives the target temperature
- The target temperature drives the radiator
The end.
This is my whole heating system.
The 3 automations you saw are duplicated for every room. Some rooms have fewer modes like my bathroom that has no window, and some rooms have different modes, again like my bathroom that has a Boost mode, driven by a humidity sensor.
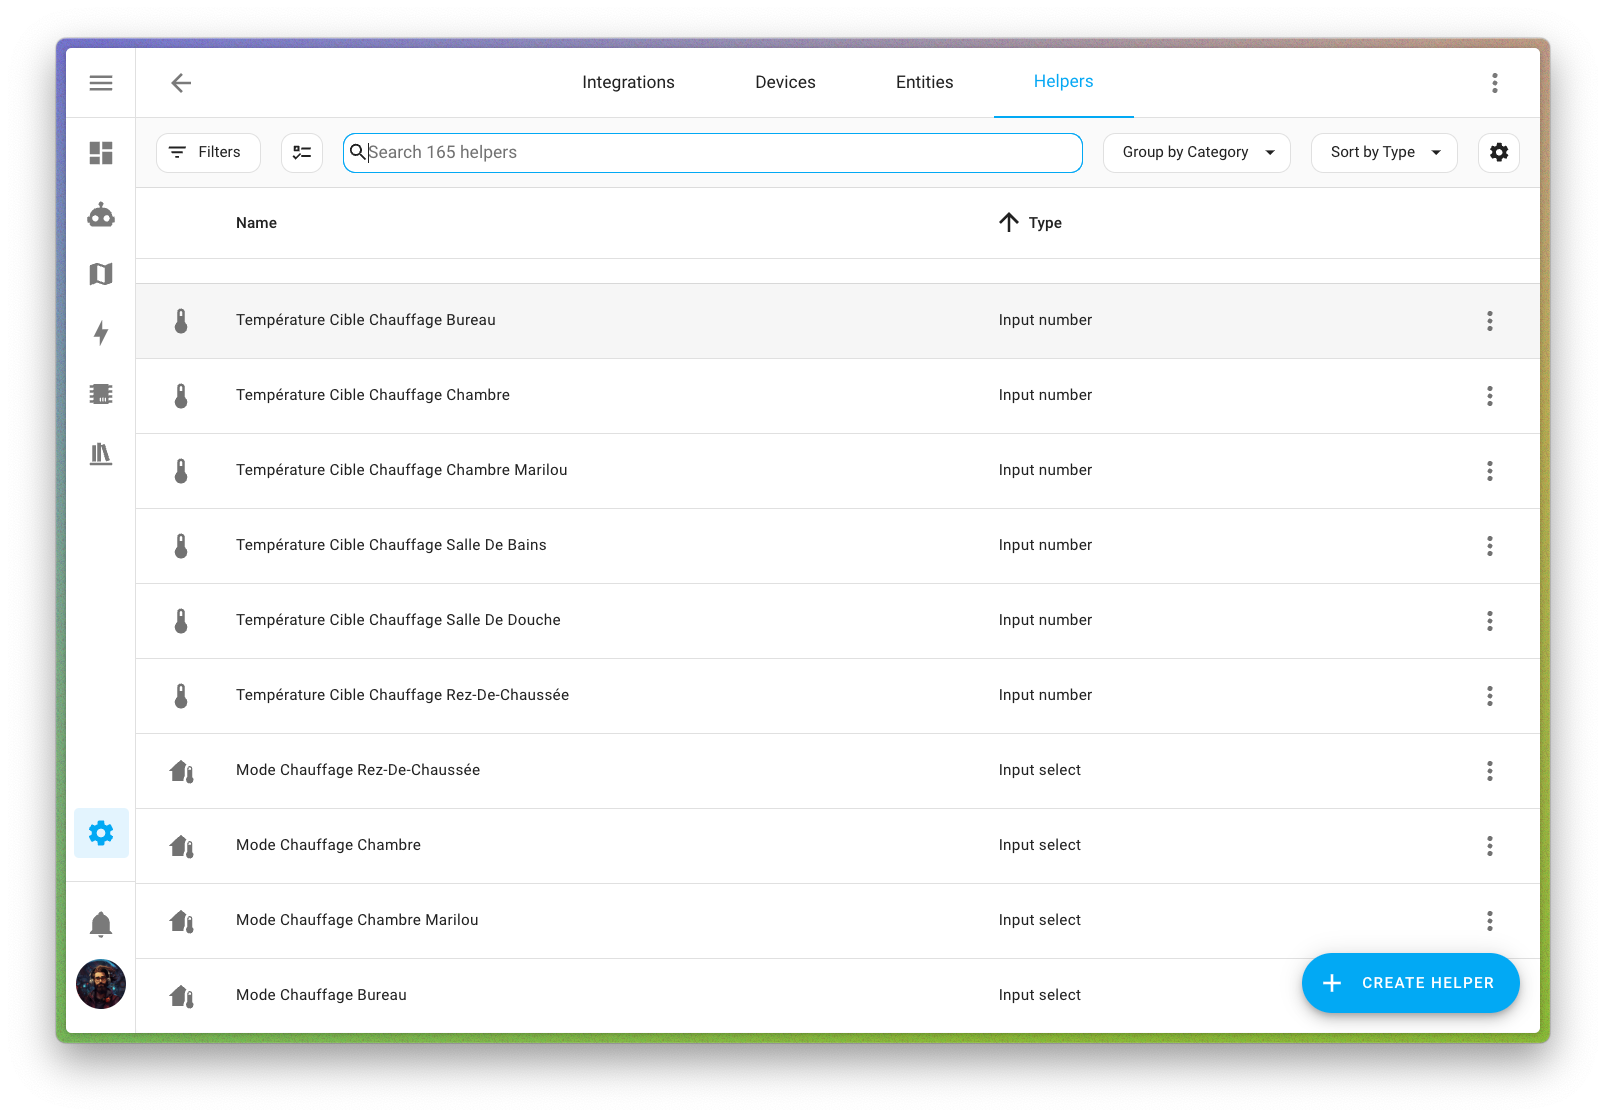
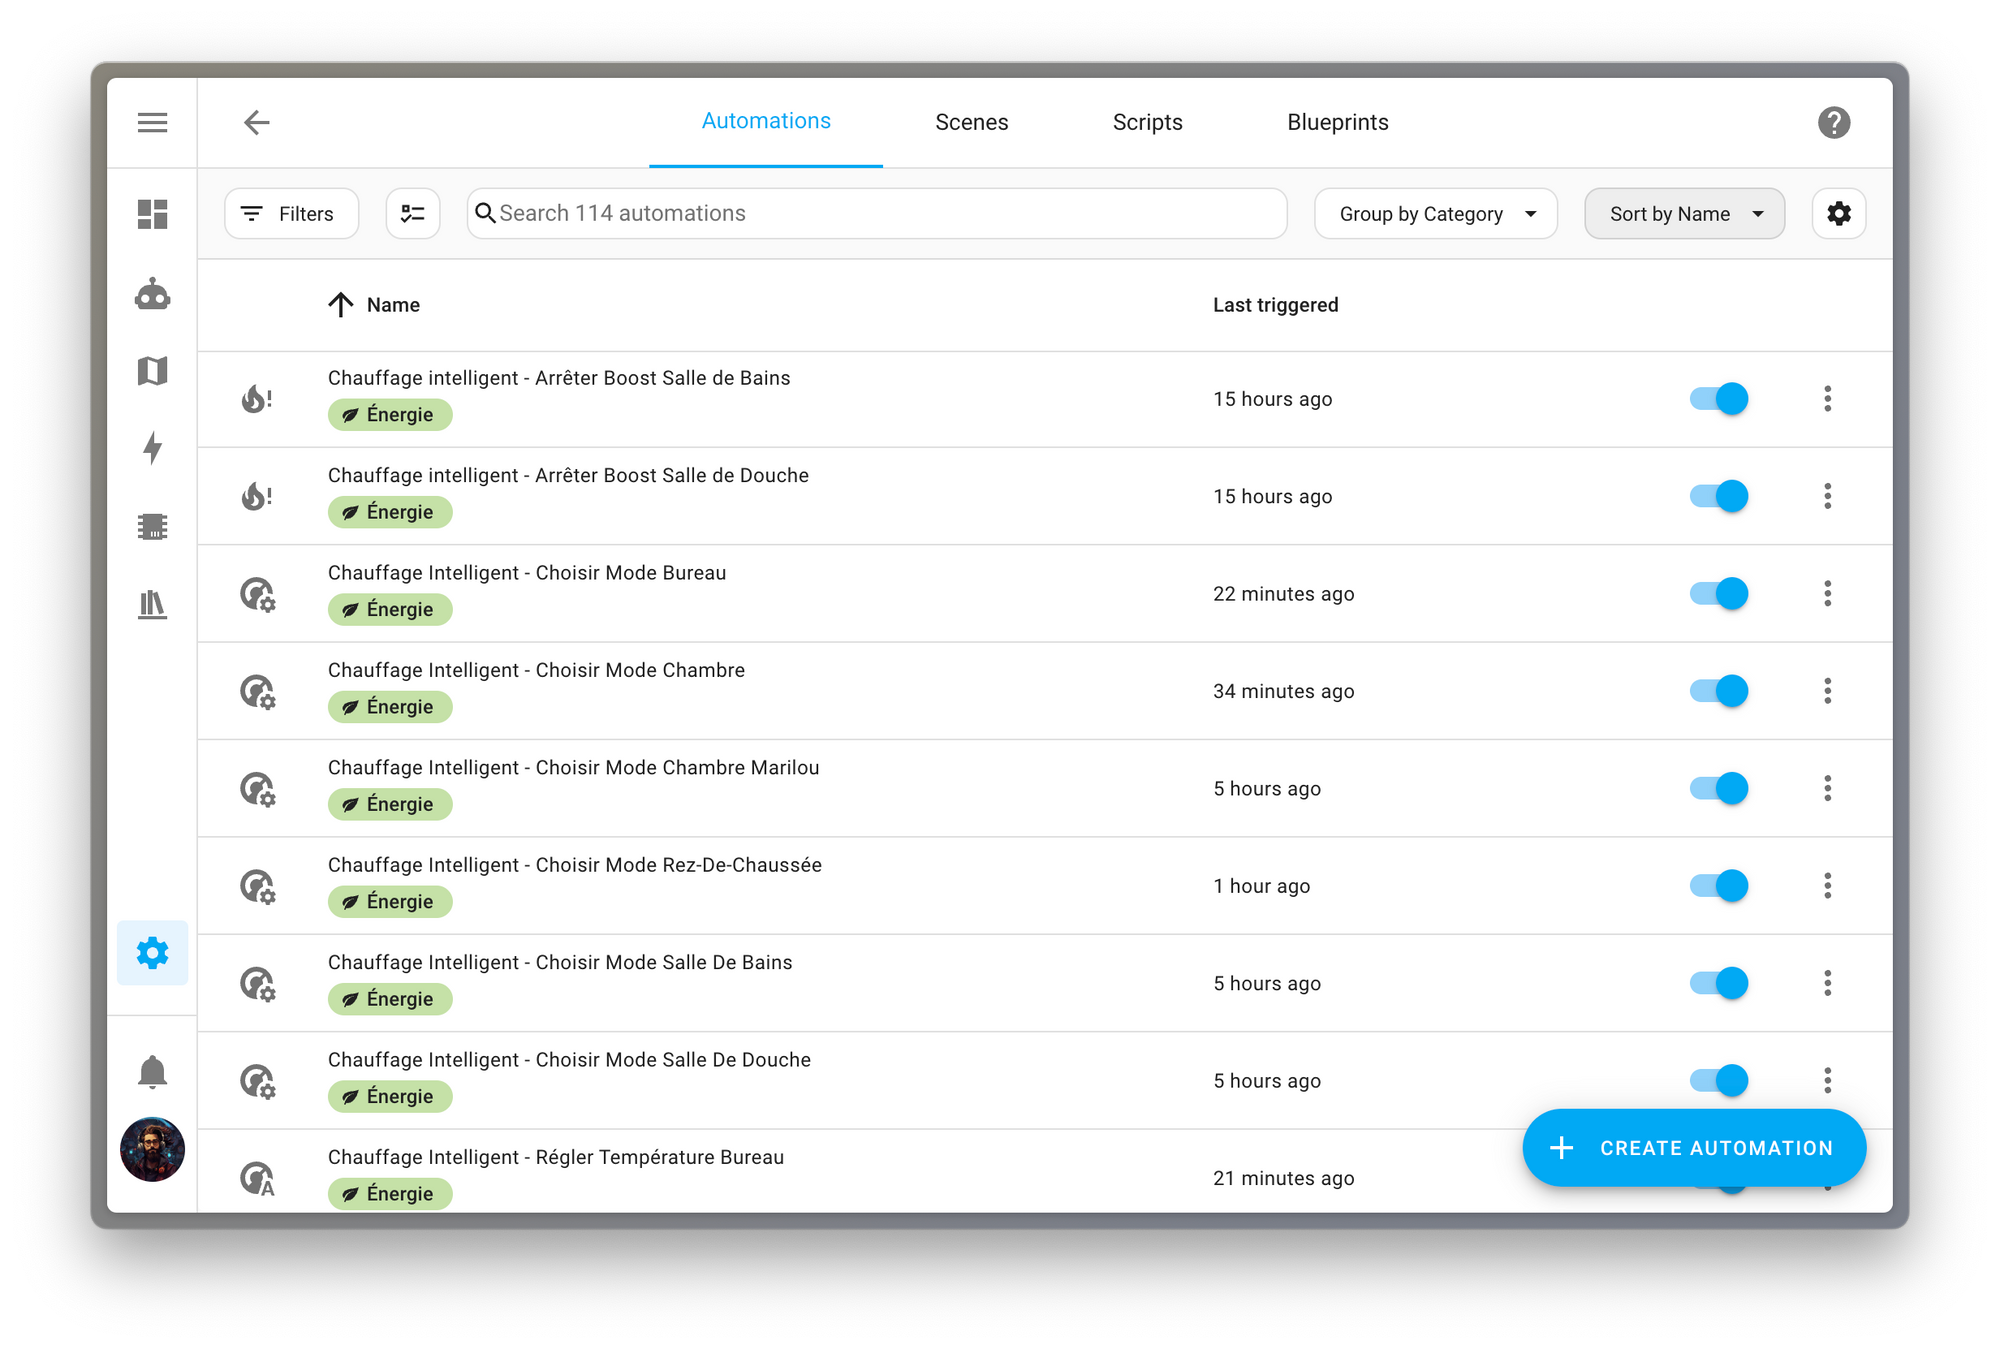
In the end, it's just a bunch of helpers (26), and a bunch of automations (20) doing what we just did together.
- Computing modes
- Computing target temperatures
- Driving radiators
This post is long because I decided to focus on all the small details. But nothing is complicated because we planned well and broke down the problem into small manageable parts.
Nothing is complicated, yet the sum is beautiful and complex.
I hope you enjoyed this post and learned something 😍
My complete Home Assistant configuration is available here
JLo ✌🏻